Introduction
Heavy-duty trucks operate under extremely harsh working conditions every day. These conditions include full-load long-haul transportation, bumpy mountain roads, and frequent start-stop operations.
Among all driveline components, the universal joint, also known as U-joint, is one of the most vulnerable yet indispensable parts. It undertakes continuous torque transmission and angle adjustment work.
Many fleet managers and truck drivers overlook minor U-joint abnormalities in daily driving. However, small hidden faults can evolve into serious breakdowns.
Severe universal joint failure often leads to driving vibration, power transmission lag, and even sudden drive shaft breakage. These issues cause roadside downtime and huge economic losses for freight fleets.
To help truck owners and maintenance personnel avoid unnecessary failures, this guide comprehensively sorts out universal joint working principles, common problems, typical symptoms, failure causes, inspection methods, and standard replacement processes.
Meanwhile, we share professional maintenance tips to extend U-joint service life. For one-stop heavy-duty truck parts matching and technical support, you can browse our professional technical support resource library.
What Is a Truck Universal Joint? Basic Working Principle
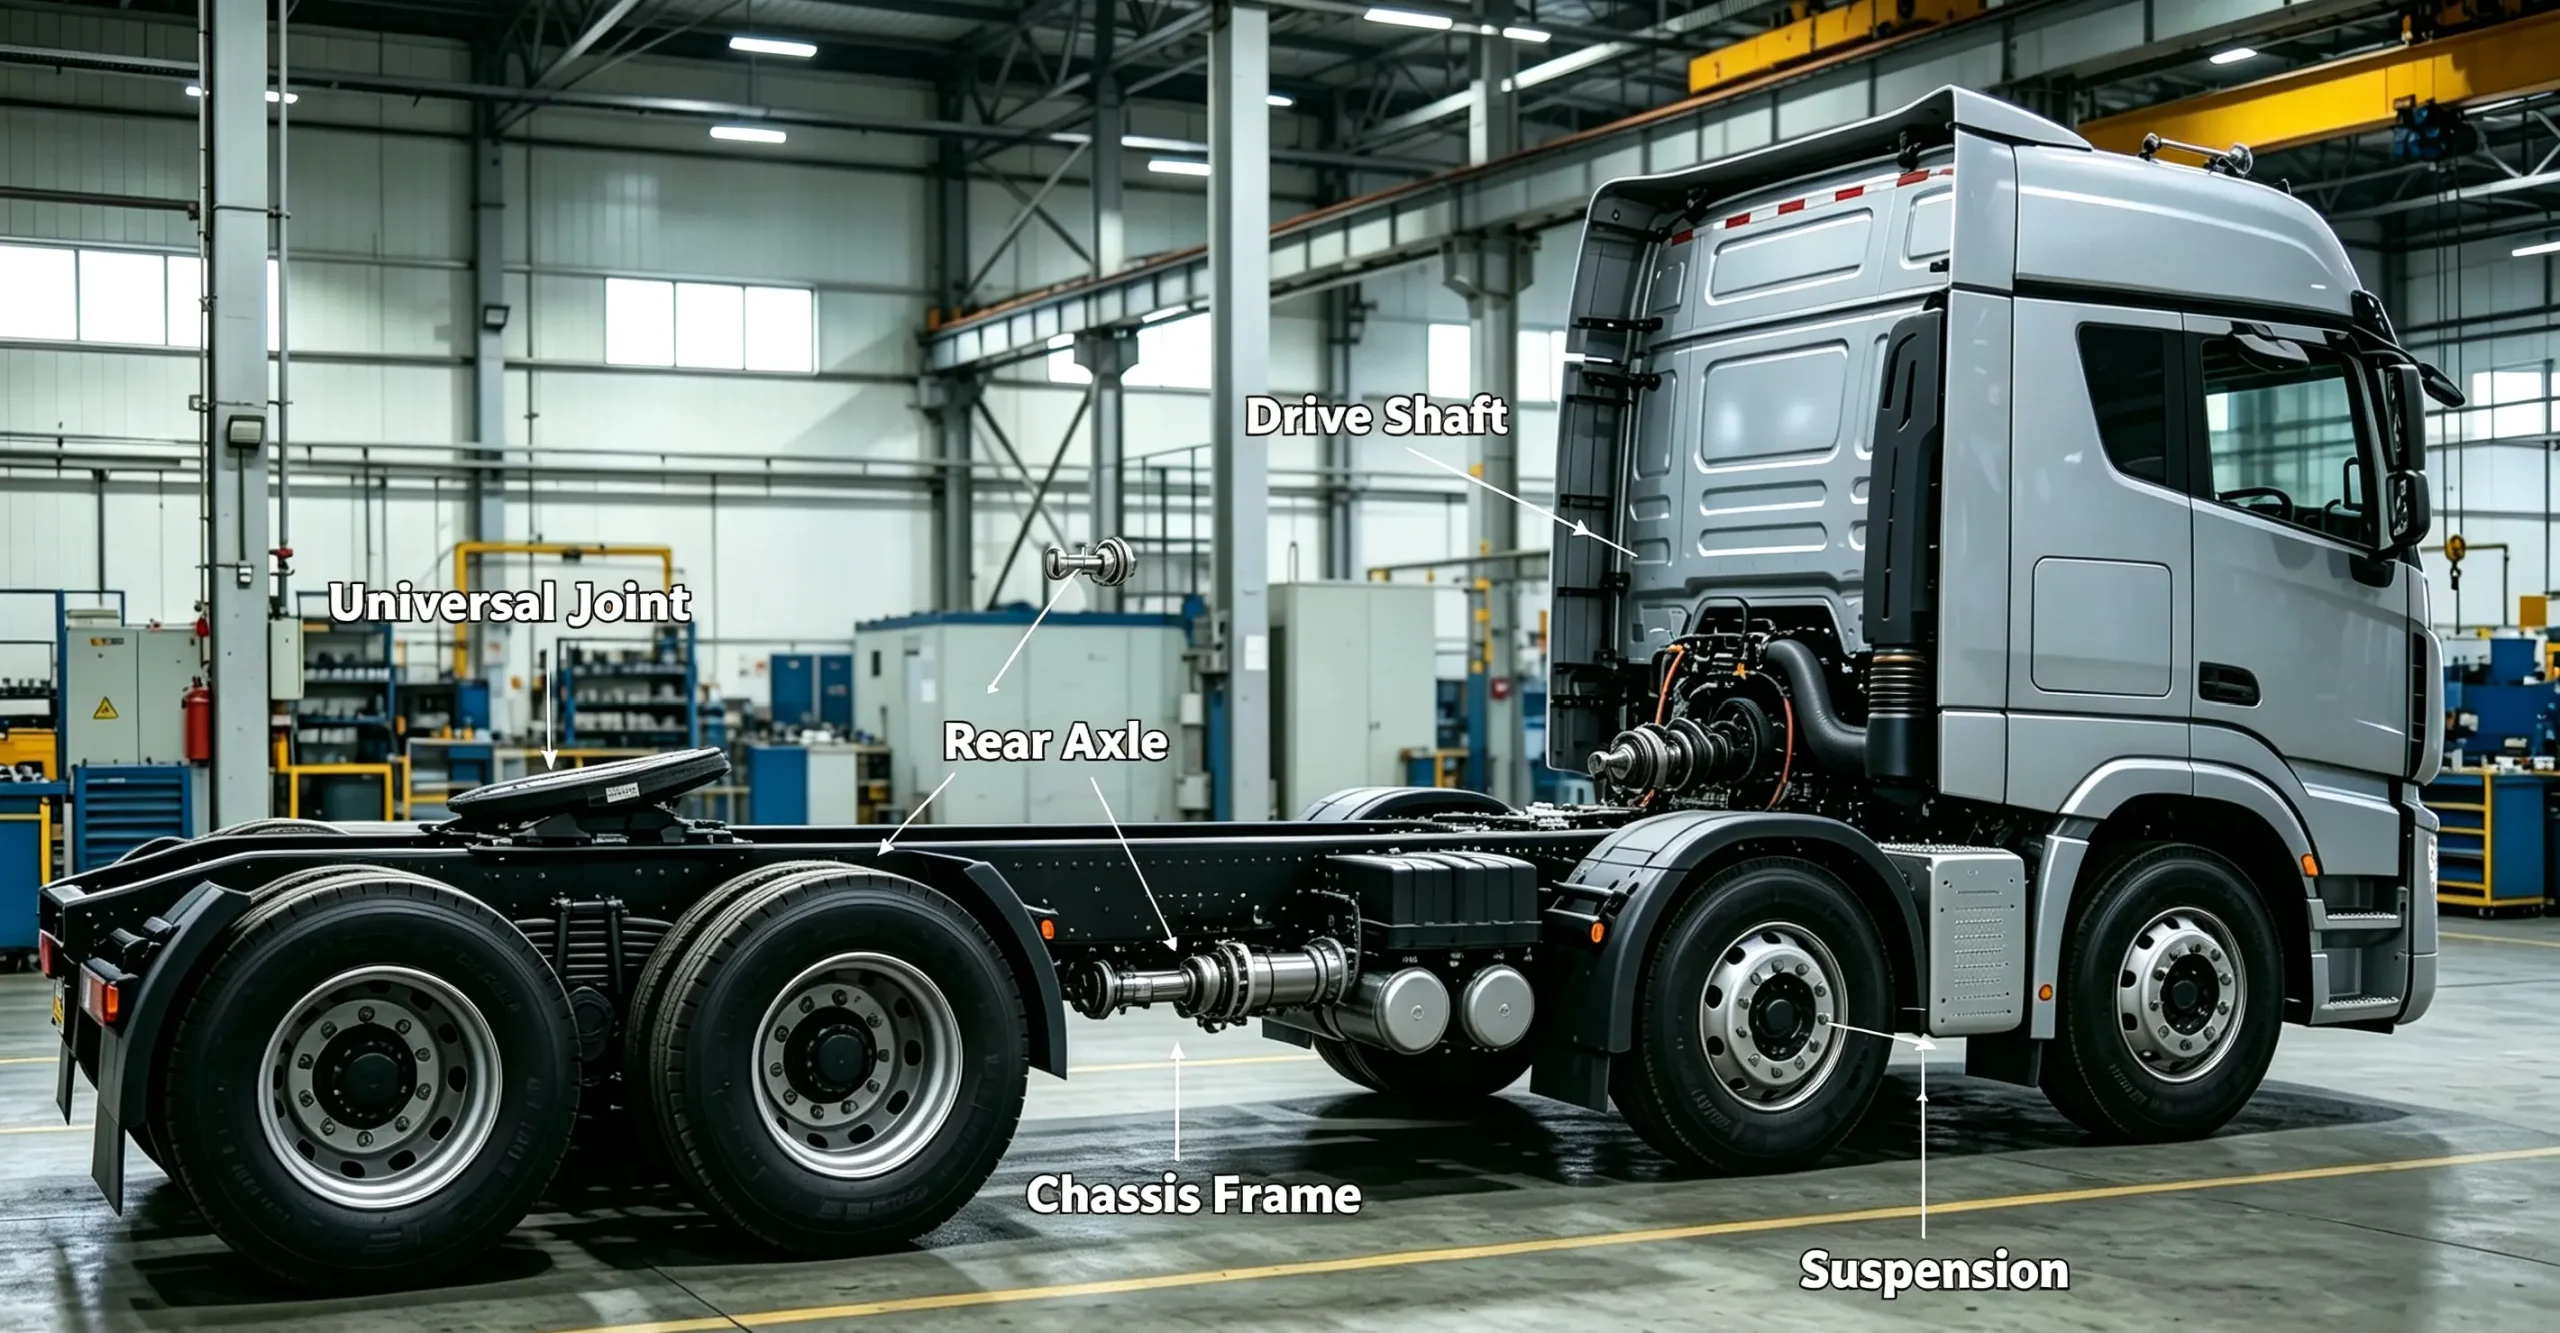
Before understanding U-joint faults, it is necessary to clarify its basic definition and working logic. Simply put, the universal joint is a flexible connector installed inside the heavy-duty truck drive shaft assembly.
Different from rigid fixed connecting parts, the U-joint can transmit stable torque while allowing angle displacement. This feature solves the installation deviation and jitter displacement between the gearbox and the rear axle.
In the driving process of heavy trucks, the suspension will constantly compress and rebound. The axle will jump up and down with road fluctuations. Without universal joints, the rigid drive shaft will bear huge shear force and break easily.
A complete heavy-duty truck universal joint consists of four core structures. These structures include cross shaft, needle roller bearings, sealing rubber sleeves, and snap rings. Each component affects the overall operating stability.
Genuine high-quality U-joints adopt high-strength alloy steel integral forging technology. The internal bearings are filled with high-temperature resistant grease to adapt to long-term high-load operation.
In contrast, inferior aftermarket universal joints have rough processing and poor sealing performance. They are prone to grease leakage and bearing wear in a short time. You can view truck driveline system supporting parts to select matching standard U-joint assemblies.
Core Functions of Heavy-Duty Truck Universal Joints
Many people think the U-joint only plays a connecting role. In fact, it undertakes multiple core protection functions in the truck power transmission system.
First, it realizes variable-angle power transmission. The horizontal angle between the drive shaft and the axle changes in real time during driving. The universal joint can adapt to angle changes within a certain range to ensure uninterrupted power output.
Second, it buffers mechanical impact. When the truck starts suddenly, shifts gears, or passes bumpy roads, instantaneous torque impact will be generated. The U-joint can absorb part of the mechanical impact to protect the gearbox and differential.
Third, it corrects installation errors. During factory assembly or later parts replacement, tiny installation deviations are inevitable. The flexible structure of the universal joint can offset these deviations to avoid rigid friction.
Fourth, it reduces overall vibration. Qualified U-joints with good lubrication and tight coordination can effectively reduce driveline resonance and improve driving smoothness.
Common Universal Joint Problems in Heavy-Duty Trucks
Universal joint failures are not single abnormal phenomena. Instead, they gradually deteriorate from minor wear to complete failure. The following are the most common U-joint problems summarized from long-term truck maintenance cases.
1. Needle Roller Bearing Wear and Aging
Bearing wear is the most basic and frequent U-joint problem. The internal needle roller bearings rely on lubricating grease to reduce friction during operation.
After long-term high-speed operation and load impact, the bearing rollers will gradually wear. The gap between the cross shaft and the bearing increases significantly.
Once the gap exceeds the standard range, the universal joint cannot run stably. It will produce jitter and abnormal noise during power transmission.
2. Lubricating Grease Deterioration and Leakage
The sealing rubber sleeve of the U-joint is a vulnerable part. After long-term exposure to high temperature, dust, and rain erosion, the rubber sleeve will age and crack.
After the sealing structure fails, the internal high-temperature resistant grease will slowly leak out. Without grease protection, the needle bearings and cross shaft will operate in a dry friction state.
Dry friction will rapidly increase component wear. It will also generate high temperature, which further accelerates rubber aging and metal fatigue. This forms a vicious cycle of failure.
3. Cross Shaft Rust and Corrosion
For trucks that often work in humid environments or outdoor parking lots, rainwater and moisture can easily penetrate the U-joint after the seal fails.
The cross shaft surface will rust and corrode. The rust layer increases internal friction and causes local jamming during rotation.
Corroded cross shafts cannot rotate flexibly. They will cause uneven power transmission and aggravate drive shaft vibration.
4. Snap Ring Loosening and Displacement
Snap rings are used to fix the axial position of U-joint bearings. Long-term vibration and impact will cause the snap ring to loosen or even shift.
Once the fixing fails, the bearing will have axial play. This leads to severe shaking of the drive shaft during acceleration and deceleration.
5. U-Joint Deformation and Fatigue Fracture
Overload driving and violent start-up will generate instantaneous ultra-high torque. This easily causes local deformation of the U-joint cross shaft.
After long-term alternating load operation, metal fatigue will accumulate. If not replaced in time, the U-joint will break directly, causing the drive shaft to fall off.
Typical Symptoms of Failing Truck Universal Joints
Early U-joint faults are very subtle. They can only be detected through careful driving perception and regular inspection. However, as the wear intensifies, the abnormal symptoms will become more and more obvious.
Mastering these typical symptoms can help maintenance personnel judge faults accurately and avoid blind disassembly. It also prevents secondary damage to other driveline parts.
1. Obvious Clunking Noise During Start and Gear Shift
This is the most classic early symptom of U-joint wear. When the truck starts from a static state or shifts gears, you will hear a dull metal clunk sound at the chassis.
This sound comes from the excessive gap of the worn universal joint. The loose parts collide instantly when power is connected.
Many drivers mistakenly judge it as gearbox failure. In fact, more than half of chassis impact noises come from worn driveline universal joints.
2. Chassis Vibration Aggravates at Medium and High Speed
When the U-joint wear gap increases and the rotation is not concentric, the drive shaft will produce eccentric rotation.
The vibration is not obvious at low speed. But when the speed reaches 60km/h to 80km/h, the chassis vibration will increase significantly.
In the later stage of failure, the vibration will be transmitted to the whole vehicle. It causes steering wheel jitter and even seat shaking.
3. Humming Friction Noise During Constant-Speed Driving
If the U-joint lacks grease or the bearing is severely worn, continuous humming friction noise will appear during uniform driving.
The noise will become louder with the increase of vehicle speed. It is different from the intermittent impact sound of loose gaps.
4. Power Transmission Lag and Weak Climbing Power
When the universal joint is stuck or worn seriously, the torque transmission will not be synchronized.
The driver will feel obvious accelerator delay. The vehicle responds slowly when climbing or accelerating with load.
5. Visible Grease Splashing and Seal Cracking
During daily inspection, you can directly observe the U-joint surface. If there is splashed grease on the drive shaft or chassis, the internal seal is damaged.
Cracked and aging rubber sleeves can also be seen visually. This is an intuitive sign that the U-joint needs replacement.
Main Root Causes of Universal Joint Failure
To reduce U-joint failure rate fundamentally, it is necessary to clarify the root causes of wear and damage. Most universal joint faults are not caused by quality problems alone.
Instead, they are the result of long-term irregular driving habits and inadequate maintenance. The following are the core failure causes summarized from a large number of fleet maintenance data.
1. Long-Term Overload Transportation
Overload is the biggest killer of heavy-duty truck driveline parts. Excessive load makes the U-joint bear far beyond the designed torque.
Long-term overload operation will accelerate bearing wear and metal fatigue. It greatly shortens the service life of the universal joint.
2. Violent Driving Habits
Frequent rapid start, sudden acceleration and sudden braking will produce huge instantaneous torque impact.
Each impact will cause gap collision and micro-deformation of the U-joint. Accumulated micro-damage eventually leads to complete failure.
3. Lack of Regular Grease Maintenance
The U-joint relies entirely on high-temperature grease for lubrication and wear resistance. Many fleets ignore regular greasing work.
After the grease fails or dries up, the internal parts operate with dry friction. The wear speed increases exponentially.
4. Poor Working Environment
Trucks working on construction sites, mine roads and rural muddy roads are prone to dust and muddy water erosion.
Dust adheres to the seal surface to accelerate rubber aging. Muddy water penetrates into the interior to cause rust and grease deterioration.
5. Use of Inferior Aftermarket Parts
Many small repair shops choose low-cost inferior U-joints to save costs. These parts have unqualified material hardness and poor sealing performance.
Their service life is far shorter than genuine standard parts. The failure rate is extremely high after installation. For reliable OEM-grade driveline parts, you can check our genuine truck parts catalog.
6. Improper Installation Operation
Unprofessional installation will cause problems such as uneven snap ring clamping, excessive installation tightness, and incorrect angle.
These installation errors will lead to poor U-joint rotation flexibility. It causes local stress concentration and accelerated wear.
Professional U-Joint Inspection Steps (On-Site Maintenance Guide)
Accurate inspection is the premise of correct maintenance and replacement. Many maintenance workers replace parts blindly without systematic inspection.
This not only increases maintenance costs but also fails to solve hidden dangers thoroughly. The following is a set of standard on-site inspection processes suitable for heavy-duty truck universal joints.
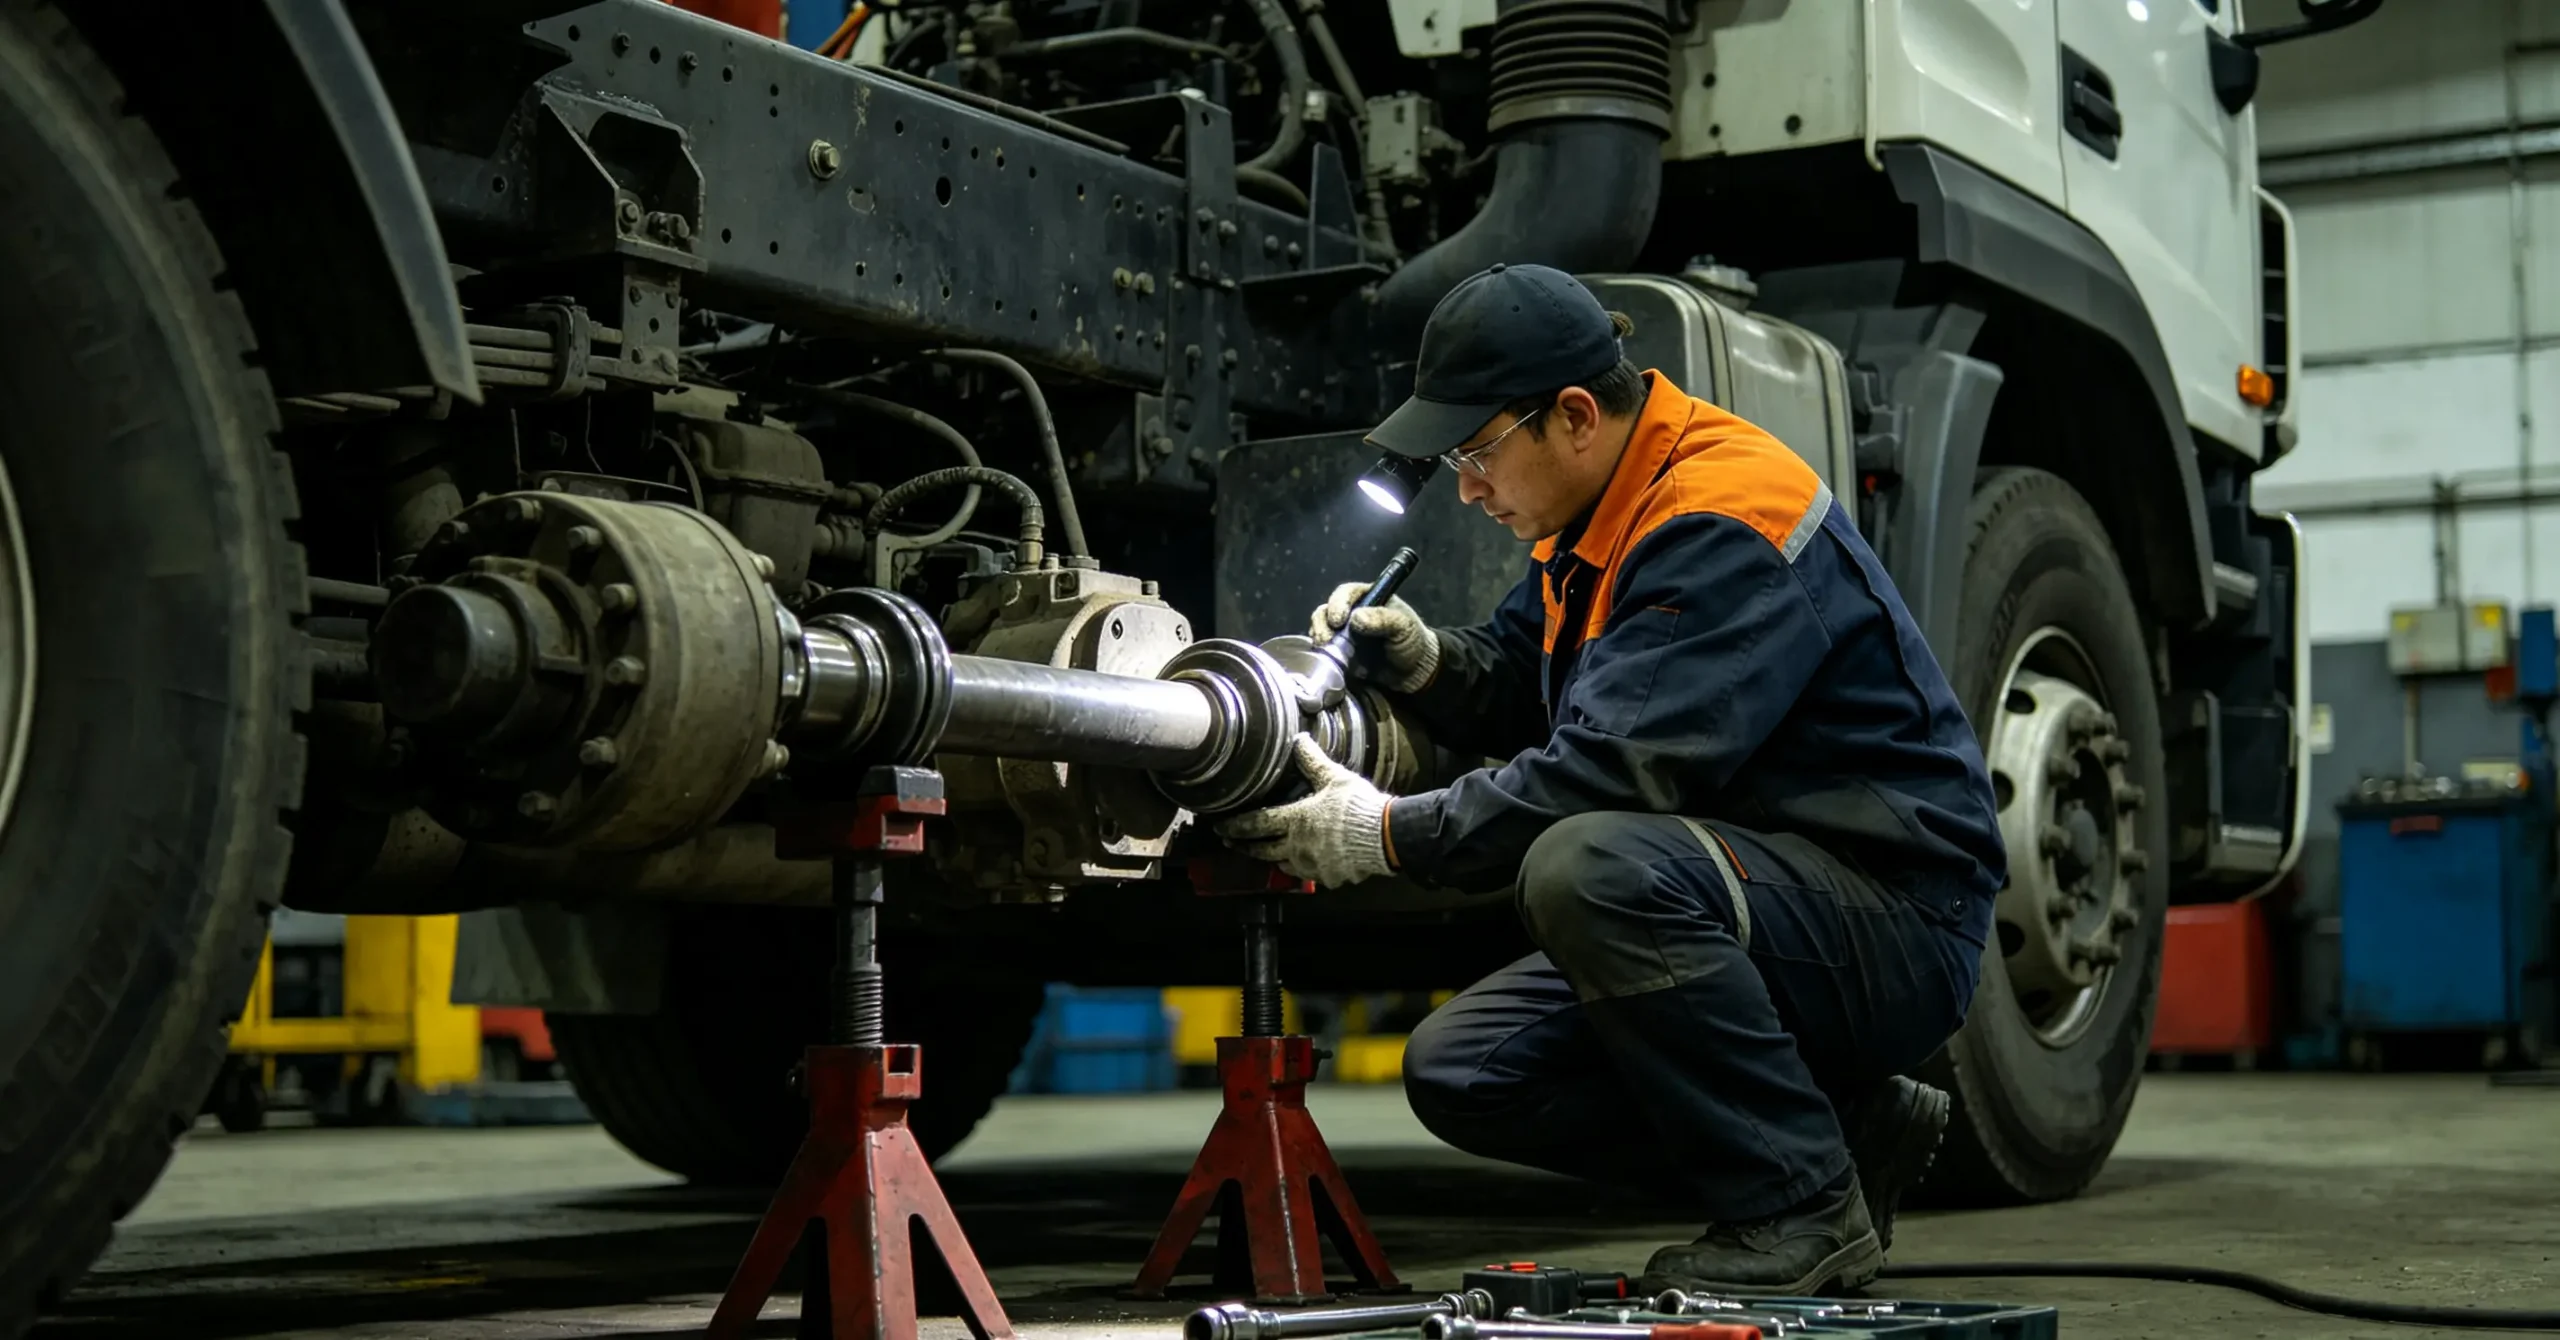
1. Static Visual Inspection
Park the truck on flat ground and turn off the engine. Observe all U-joint positions of the drive shaft directly.
Check whether the rubber sealing sleeve is cracked, aging or deformed. Confirm whether there is grease leakage and splashing traces.
Check whether the surface of the cross shaft is rusted or deformed. Check whether the snap rings are complete and firmly fixed.
2. Manual Gap Detection
Hold the drive shaft tightly and shake it up and down, left and right. Feel whether there is obvious loose gap.
If there is obvious shaking and collision sense, it means the internal bearing gap is excessive and needs to be replaced.
In addition, rotate the drive shaft manually to feel the rotation resistance. Stagnation and jamming indicate bearing wear or rust jamming.
3. Dynamic Road Test Inspection
After static inspection is completed, carry out road test verification. Start the vehicle and accelerate slowly.
Listen carefully to the chassis noise during start-up, gear shifting and uniform driving. Observe the vibration changes at different speeds.
Record the corresponding speed and working conditions of abnormal noise and vibration to accurately judge the wear degree.
4. Dismantling Fine Inspection
For suspected faulty U-joints, disassemble and inspect the internal structure thoroughly.
Take out the snap ring and bearing, check the wear degree of the needle roller and the smoothness of the cross shaft surface.
If the needle roller is flattened, worn or missing, or the cross shaft has obvious grooves, replace the assembly directly.
Complete Universal Joint Replacement Process Step by Step
U-joint replacement is a highly professional maintenance project. Non-standard operation will lead to secondary failure after installation.
The following is the standard full-process replacement step summarized by professional maintenance technicians, suitable for most Sinotruk, FAW, Foton and Shaanxi heavy-duty trucks.
1. Preparatory Work Before Disassembly
Park the vehicle on a flat and hard ground, tighten the handbrake, and pad the tires to ensure safety.
Prepare special tools including socket wrench, snap ring pliers, copper rod, rubber hammer and new high-temperature grease.
Confirm the model and specification of the new U-joint to ensure complete consistency with the original parts.
2. Fix the Drive Shaft and Remove Snap Rings
Clean the dirt and grease on the U-joint surface first to avoid foreign matter entering the bearing during disassembly.
Use snap ring pliers to take out the fixing snap rings at both ends of the U-joint. Place the snap rings in order to avoid loss.
3. Press Out the Old Universal Joint
Use a professional press tool to press out the old cross shaft and bearing assembly slowly.
Do not strike hard with an iron hammer. Hard impact will deform the drive shaft yoke and affect the installation accuracy.
If it is stuck due to rust, spray rust remover first and press it out after soaking.
4. Clean the Installation Yoke
After removing the old U-joint, clean the inner hole of the drive shaft yoke carefully.
Remove residual grease, rust and metal debris to ensure the installation hole is smooth and clean.
Unclean impurities will cause poor fit and eccentric wear of the new U-joint.
5. Grease Injection for New U-Joint
Before installation, fill the new universal joint with sufficient high-temperature resistant lithium-based grease.
Ensure that the internal bearing gaps are fully filled to avoid dry friction in the initial running-in stage.
6. Press in the New Universal Joint
Align the new U-joint with the yoke hole, keep it horizontal and vertical, and press it in slowly and evenly.
Stop pressing when it reaches the fixed position to avoid excessive compression causing bearing jamming.
7. Install and Fix Snap Rings
Install the snap rings in place again. Shake the U-joint slightly after installation to confirm that it is fixed firmly without axial displacement.
Test the rotation flexibility of the universal joint to ensure smooth rotation without stagnation and jamming.
8. Post-Installation Test Run
After replacement, do not drive with full load immediately. Carry out low-speed no-load test run first.
Check whether there is abnormal noise and vibration. Confirm no grease leakage before normal load operation.
Key Mistakes to Avoid During U-Joint Replacement
In actual maintenance work, many technicians have irregular operation habits. These hidden operation errors will lead to repeated failures of new parts.
We have sorted out the most easily overlooked operation mistakes for your reference. Avoiding these errors can greatly improve the replacement success rate and service life.
First, do not reuse old snap rings and old sealing sleeves. Old accessories have metal fatigue and aging deformation. Reuse will cause poor fixation and seal failure.
Second, do not install without cleaning impurities. Tiny metal debris will wear new bearings quickly and cause early failure.
Third, do not use ordinary low-temperature grease. Ordinary grease will liquefy and fail under high-temperature driving conditions, resulting in loss of lubrication protection.
Fourth, do not install with skew angle. Skewed installation will cause unilateral stress on the U-joint and serious eccentric wear.
Fifth, do not replace only a single worn U-joint while ignoring adjacent aging parts. For aging drive shaft assemblies, overall inspection and matching replacement are more reliable. You can consult our professional technical team for matching suggestions.
Daily Maintenance Tips to Extend Universal Joint Service Life
High failure rate of U-joints is mostly caused by insufficient daily maintenance. Scientific and standardized maintenance can double the service life of universal joints and reduce fleet maintenance costs.
The following long-term effective maintenance methods are summarized for heavy-duty truck fleets and individual drivers.
First, adhere to regular grease injection maintenance. It is recommended to supplement high-temperature grease every 5000 to 8000 kilometers to ensure full internal lubrication.
Second, strictly control overload driving. Avoid long-term over-limit load to reduce torque impact on the driveline system.
Third, correct bad driving habits. Avoid frequent rapid start, sudden acceleration and sudden braking to reduce instantaneous impact load.
Fourth, clean the drive shaft and U-joint regularly. Remove surface mud and dust to prevent corrosive aging of rubber seals.
Fifth, conduct comprehensive chassis inspection every three months. Focus on checking U-joint gaps, sealing status and grease leakage problems.
Sixth, replace aging U-joints in advance. Preventive replacement is more cost-effective than emergency breakdown maintenance. You can learn more professional maintenance plans from our fleet cooperation cases.


