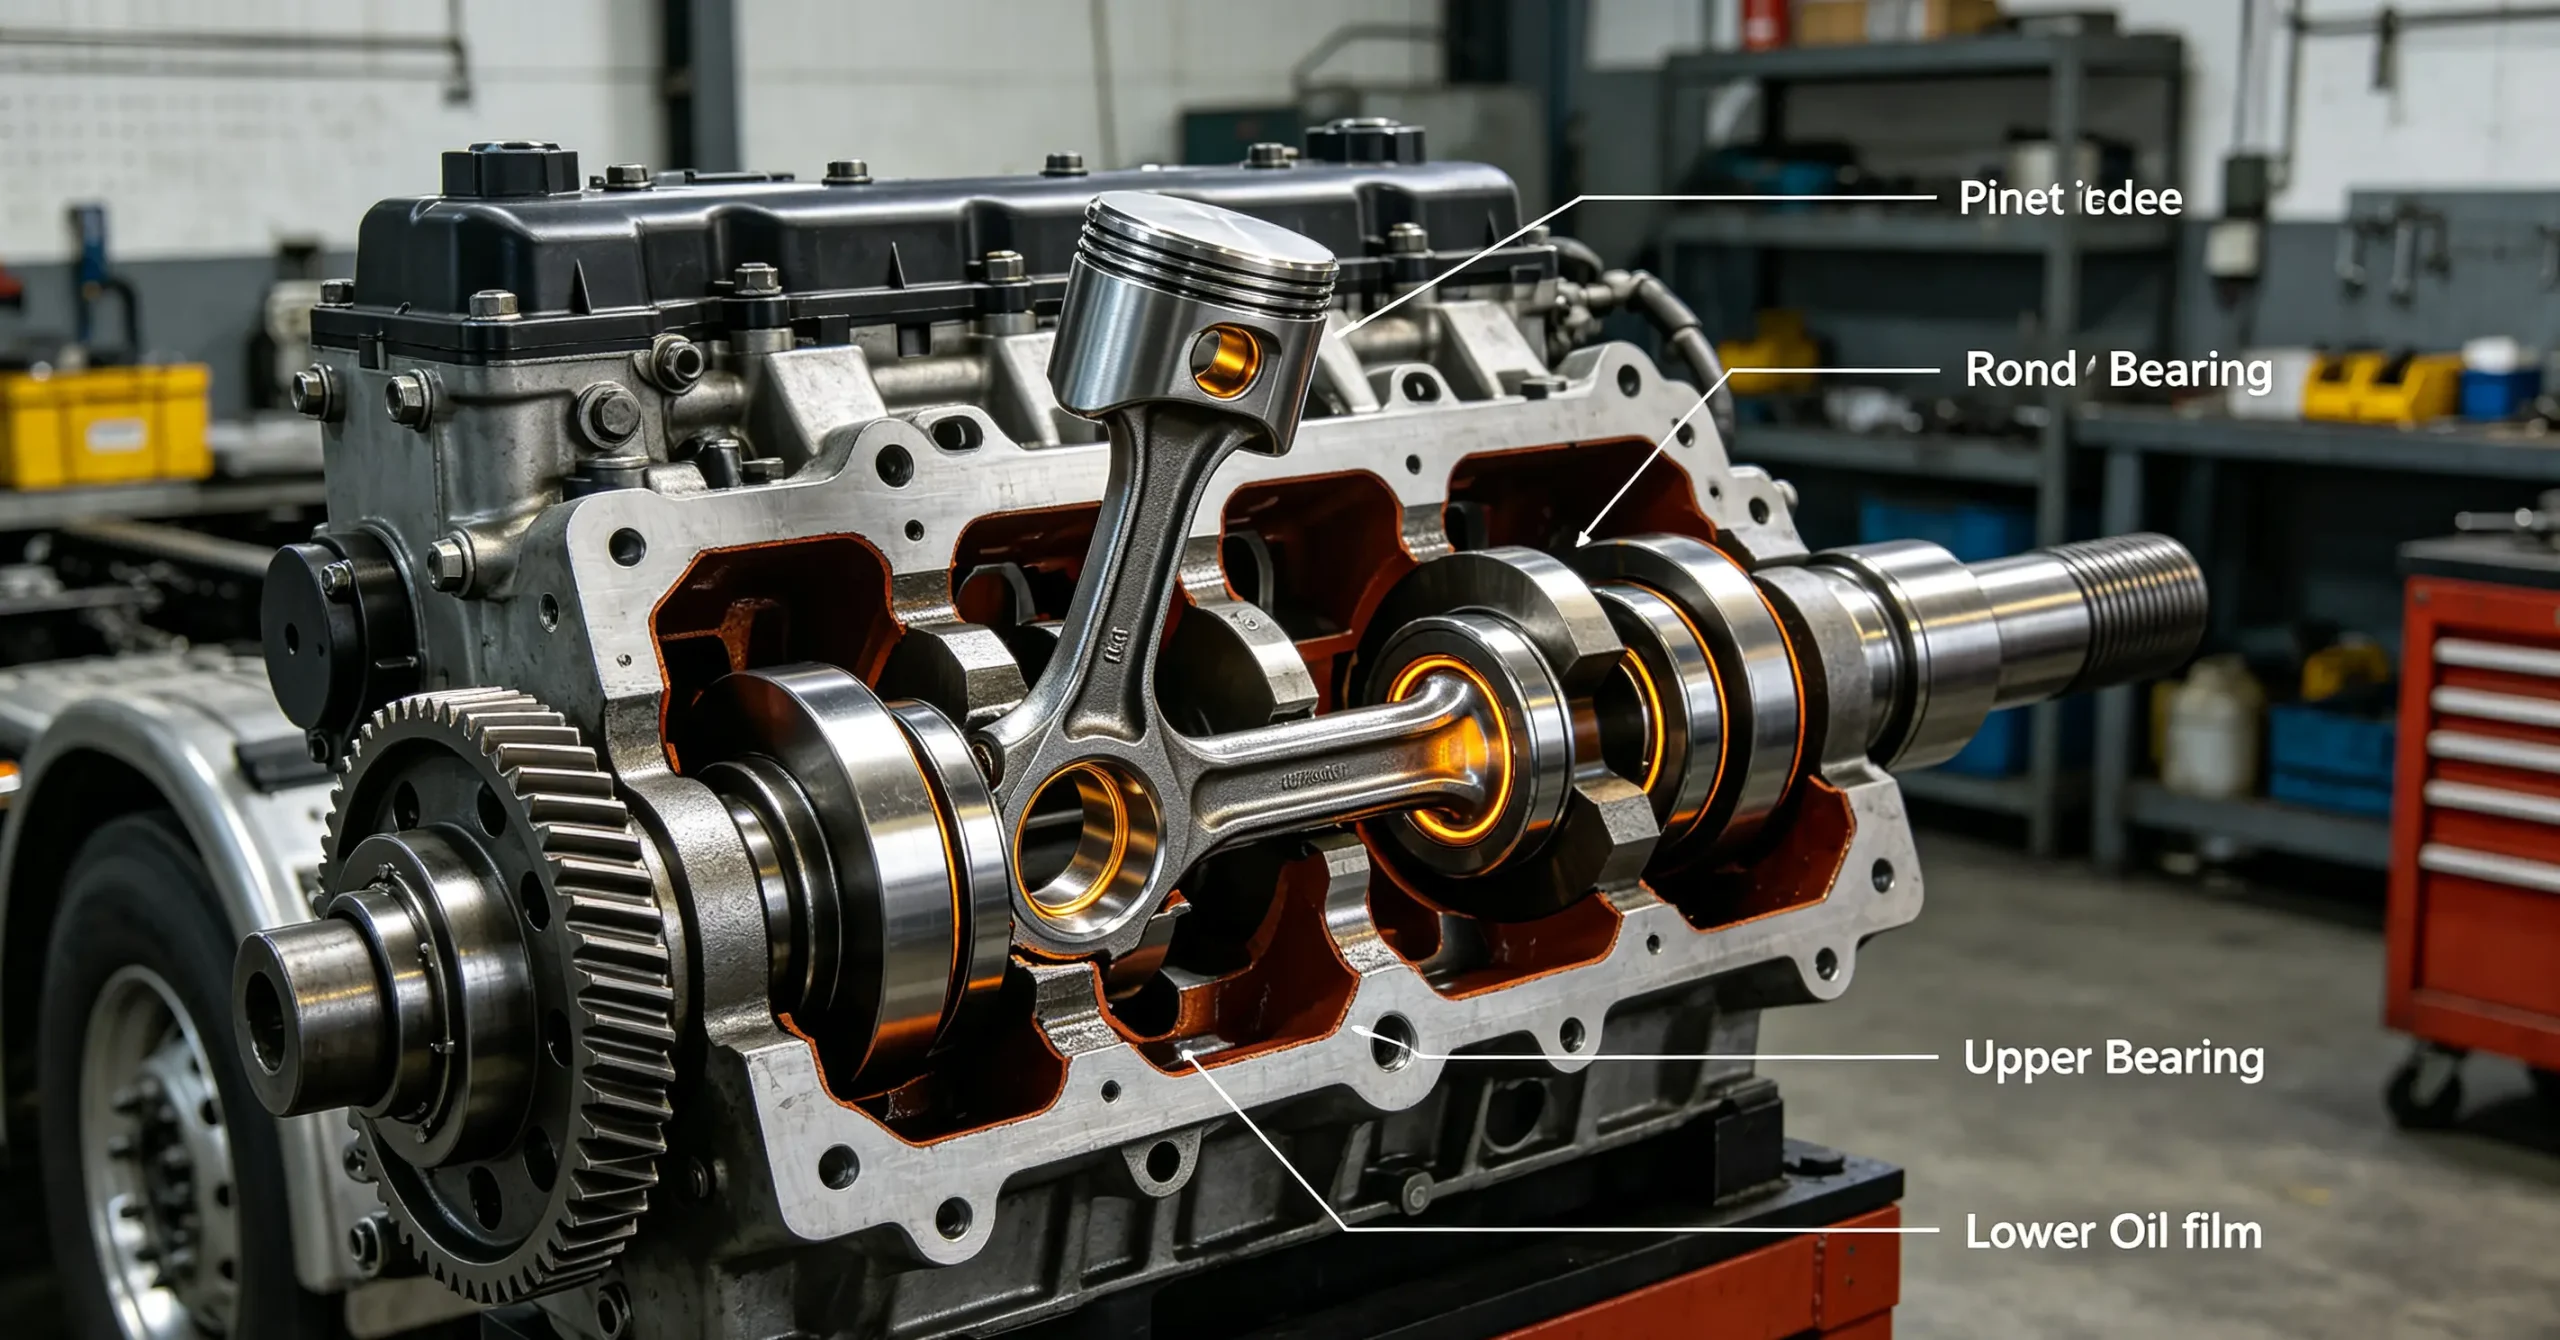
For every heavy-duty diesel truck engine, connecting rod bearings are among the most underrated yet critical internal components. Most owner-operators, fleet managers, and even junior shop mechanics pay little attention to these small metal liners during routine maintenance.
Unlike external parts that you can visually inspect during pre-trip checks, rod bearings sit deep inside the engine block. They operate in extreme conditions of high heat, intense friction, and constant mechanical load every time the truck runs.
The biggest problem with rod bearing wear is that it is extremely deceptive. Early damage never shows obvious warning signs. It creeps up slowly over thousands of miles. By the time you hear a noticeable engine knock, minor surface wear has already turned into irreversible internal engine damage.
In the worst scenarios, neglected rod bearing issues lead to spun bearings, scored crankshaft journals, bent connecting rods, or even a thrown rod that punches straight through the engine block. This type of catastrophic failure totals engines and costs fleet companies thousands of dollars in replacement parts, labor, and costly downtime.
The good news is that nearly all rod bearing failures are 100% preventable. They are rarely caused by factory defects or normal wear and tear. Almost every premature failure stems from poor maintenance habits, contaminated lubricants, aggressive driving, improper repair work, and overlooked minor engine issues.
This comprehensive, shop-tested guide is designed specifically for heavy-duty diesel truck applications. It is tailored for professional technicians, fleet maintenance supervisors, and experienced owner-operators. There are no generic gasoline engine explanations or textbook-only theories here.
We will break down exactly how rod bearings function in commercial truck engines, how to diagnose early, mid, and late-stage failure symptoms, the real-world root causes of wear, a complete step-by-step replacement workflow, professional installation tricks, critical post-repair testing, and long-term preventive maintenance routines to extend bearing service life.
What Is a Connecting Rod Bearing? Core Function in Heavy-Duty Truck Engines
To properly diagnose and replace rod bearings, you first need to understand exactly what they do and why diesel truck engines depend on them so heavily. A connecting rod bearing is a paired set of split, soft-alloy metal liners fitted between the connecting rod and the crankshaft journal.
Every cylinder in your Cummins, Detroit, Caterpillar, or other heavy-duty diesel engine features one complete set of upper and lower rod bearings. Unlike hardened engine components such as crankshafts and connecting rods, these bearings are intentionally manufactured as sacrificial wear parts.
This design strategy protects the most expensive engine components. Instead of allowing the hard steel crankshaft and rod journals to grind against one another during operation, the softer bearing alloy absorbs all friction and wear.
During normal engine operation, the truck’s lubrication system pumps pressurized engine oil into the tiny clearance gap between the bearing surface and crank journal. This creates a thin, stable hydrodynamic oil film.
This oil film is the only barrier separating metal-on-metal contact. It allows the crankshaft to rotate smoothly while pistons and connecting rods cycle up and down under full load, steep grades, and heavy towing conditions.
In passenger vehicle engines, bearings experience intermittent load and mild operating conditions. In commercial trucks, however, bearings face constant maximum stress. Long-haul trucks run for hours at steady high RPM, haul maximum gross weight, and operate in extreme hot and cold ambient temperatures.
This continuous stress means truck rod bearings fatigue far faster than standard automotive bearings if maintenance is not strictly followed. Once the protective oil film breaks down or the bearing alloy wears thin, friction spikes instantly.
Within just a few hundred miles of unaddressed wear, micro-scratches turn into scoring, scoring turns into pitting, and pitting eventually leads to bearing delamination and spinning bearings.
For consistent internal engine stability and overall chassis coordination, always pair high-quality engine bearings with durable and precision-machined truck chassis system parts. Stable chassis performance reduces overall engine strain during heavy-load operation.
Staged Connecting Rod Bearing Failure Symptoms (Early, Mid, Late Stage)
Rod bearing failure follows a very predictable three-stage progression. The biggest mistake most truck owners make is ignoring subtle early-stage signs. Professional mechanics always prioritize these faint symptoms because they know early intervention saves entire engines.
We break down each stage with real-world truck-specific symptoms so you can accurately assess your engine’s condition without full teardown.
Early-Stage Symptoms (Subtle, Easily Misdiagnosed)
Early rod bearing wear produces no loud knocking sounds. This is why it is so commonly missed. The only noticeable signs appear under specific load conditions, while idle operation remains completely normal.
You will feel a faint, low-frequency engine rumble during hard acceleration, uphill climbing, or heavy-load towing. The vibration disappears immediately when you release the throttle or reduce engine load.
Oil pressure inconsistency is another key early indicator. Cold engine oil pressure reads perfectly normal because thick, cold oil fills worn clearance gaps. Once the engine fully warms up and oil thins out, operating pressure drops slightly below your engine’s standard baseline.
Many inexperienced drivers misdiagnose this issue as bad fuel injectors, dirty air filters, or minor turbo lag. In fleet shop inspections, we find that a large percentage of rough-load running trucks actually have mild rod bearing wear.
Additional minor signs include slightly slower throttle response and marginally higher engine operating temperature under sustained load. Increased internal friction creates subtle excess heat that your cooling system cannot fully compensate for.
Mid-Stage Symptoms (Confirmed Wear, Needs Immediate Service)
Once bearing wear progresses to the mid stage, symptoms become consistent and undeniable. This is the critical window where you can still replace bearings without crankshaft machining or major engine repairs.
A rhythmic, low knocking noise develops from the lower engine block. The knock directly correlates with engine RPM. It gets louder during acceleration and fades slightly during idle, but never fully disappears.
Oil pressure becomes noticeably unstable. Even after a fresh oil change and new filter installation, warm idle pressure sits consistently below factory specifications. Pressure drops drastically when the truck is under load.
During routine oil changes, you will find fine silver metallic dust coating the oil pan magnet and oil pan bottom. This fine metal powder is pure bearing alloy material wearing away continuously.
Engine heat becomes more prominent. You will notice higher coolant temperatures during highway cruising and hill climbs, even with a fully functional radiator, water pump, and thermostat.
At this stage, continued operation accelerates wear exponentially. What would normally last tens of thousands of miles can fail completely in less than one thousand miles of heavy hauling.
Late-Stage Symptoms (Critical Failure, Stop Driving Immediately)
Late-stage rod bearing failure is catastrophic. Continuing to operate the truck at this stage guarantees extensive engine damage and exponentially higher repair costs.
A deep, loud rod knock dominates the entire engine bay. The sound is heavy and metallic, distinct from injector ticking, valve lash noise, or turbo whistle. It worsens aggressively with any throttle input.
Oil pressure bottoms out at idle. Many trucks will trigger low oil pressure dash warnings. In extreme cases, pressure drops so low that the engine cannot maintain proper lubrication at all.
Large metal flakes and shards appear in the oil pan, on the oil pickup screen, and trapped in the oil filter. Bearings begin delaminating, peeling, or spinning inside the connecting rod bore.
A spun bearing seizes the rod onto the crank journal. This creates extreme friction, bending rods, scoring crankshaft journals, and warping internal engine components.
Unstable crankshaft rotation from failed rod bearings also disrupts valve train timing and combustion efficiency. This accelerates secondary engine issues, including heavy-duty truck cylinder head failure, valve seat damage, and irregular engine misfires.
If you continue driving in this condition, the connecting rod can break free and rupture the engine block, resulting in total engine loss.
6 Real-World Root Causes of Premature Rod Bearing Failure in Diesel Trucks
After analyzing thousands of heavy-duty truck repair records from fleet shops across long-haul routes, we have confirmed that premature rod bearing failure never occurs randomly. Every failure traces back to one of six preventable root causes.
Understanding these causes helps fleet managers implement better maintenance protocols and helps owner-operators avoid repeat bearing failures after replacement.
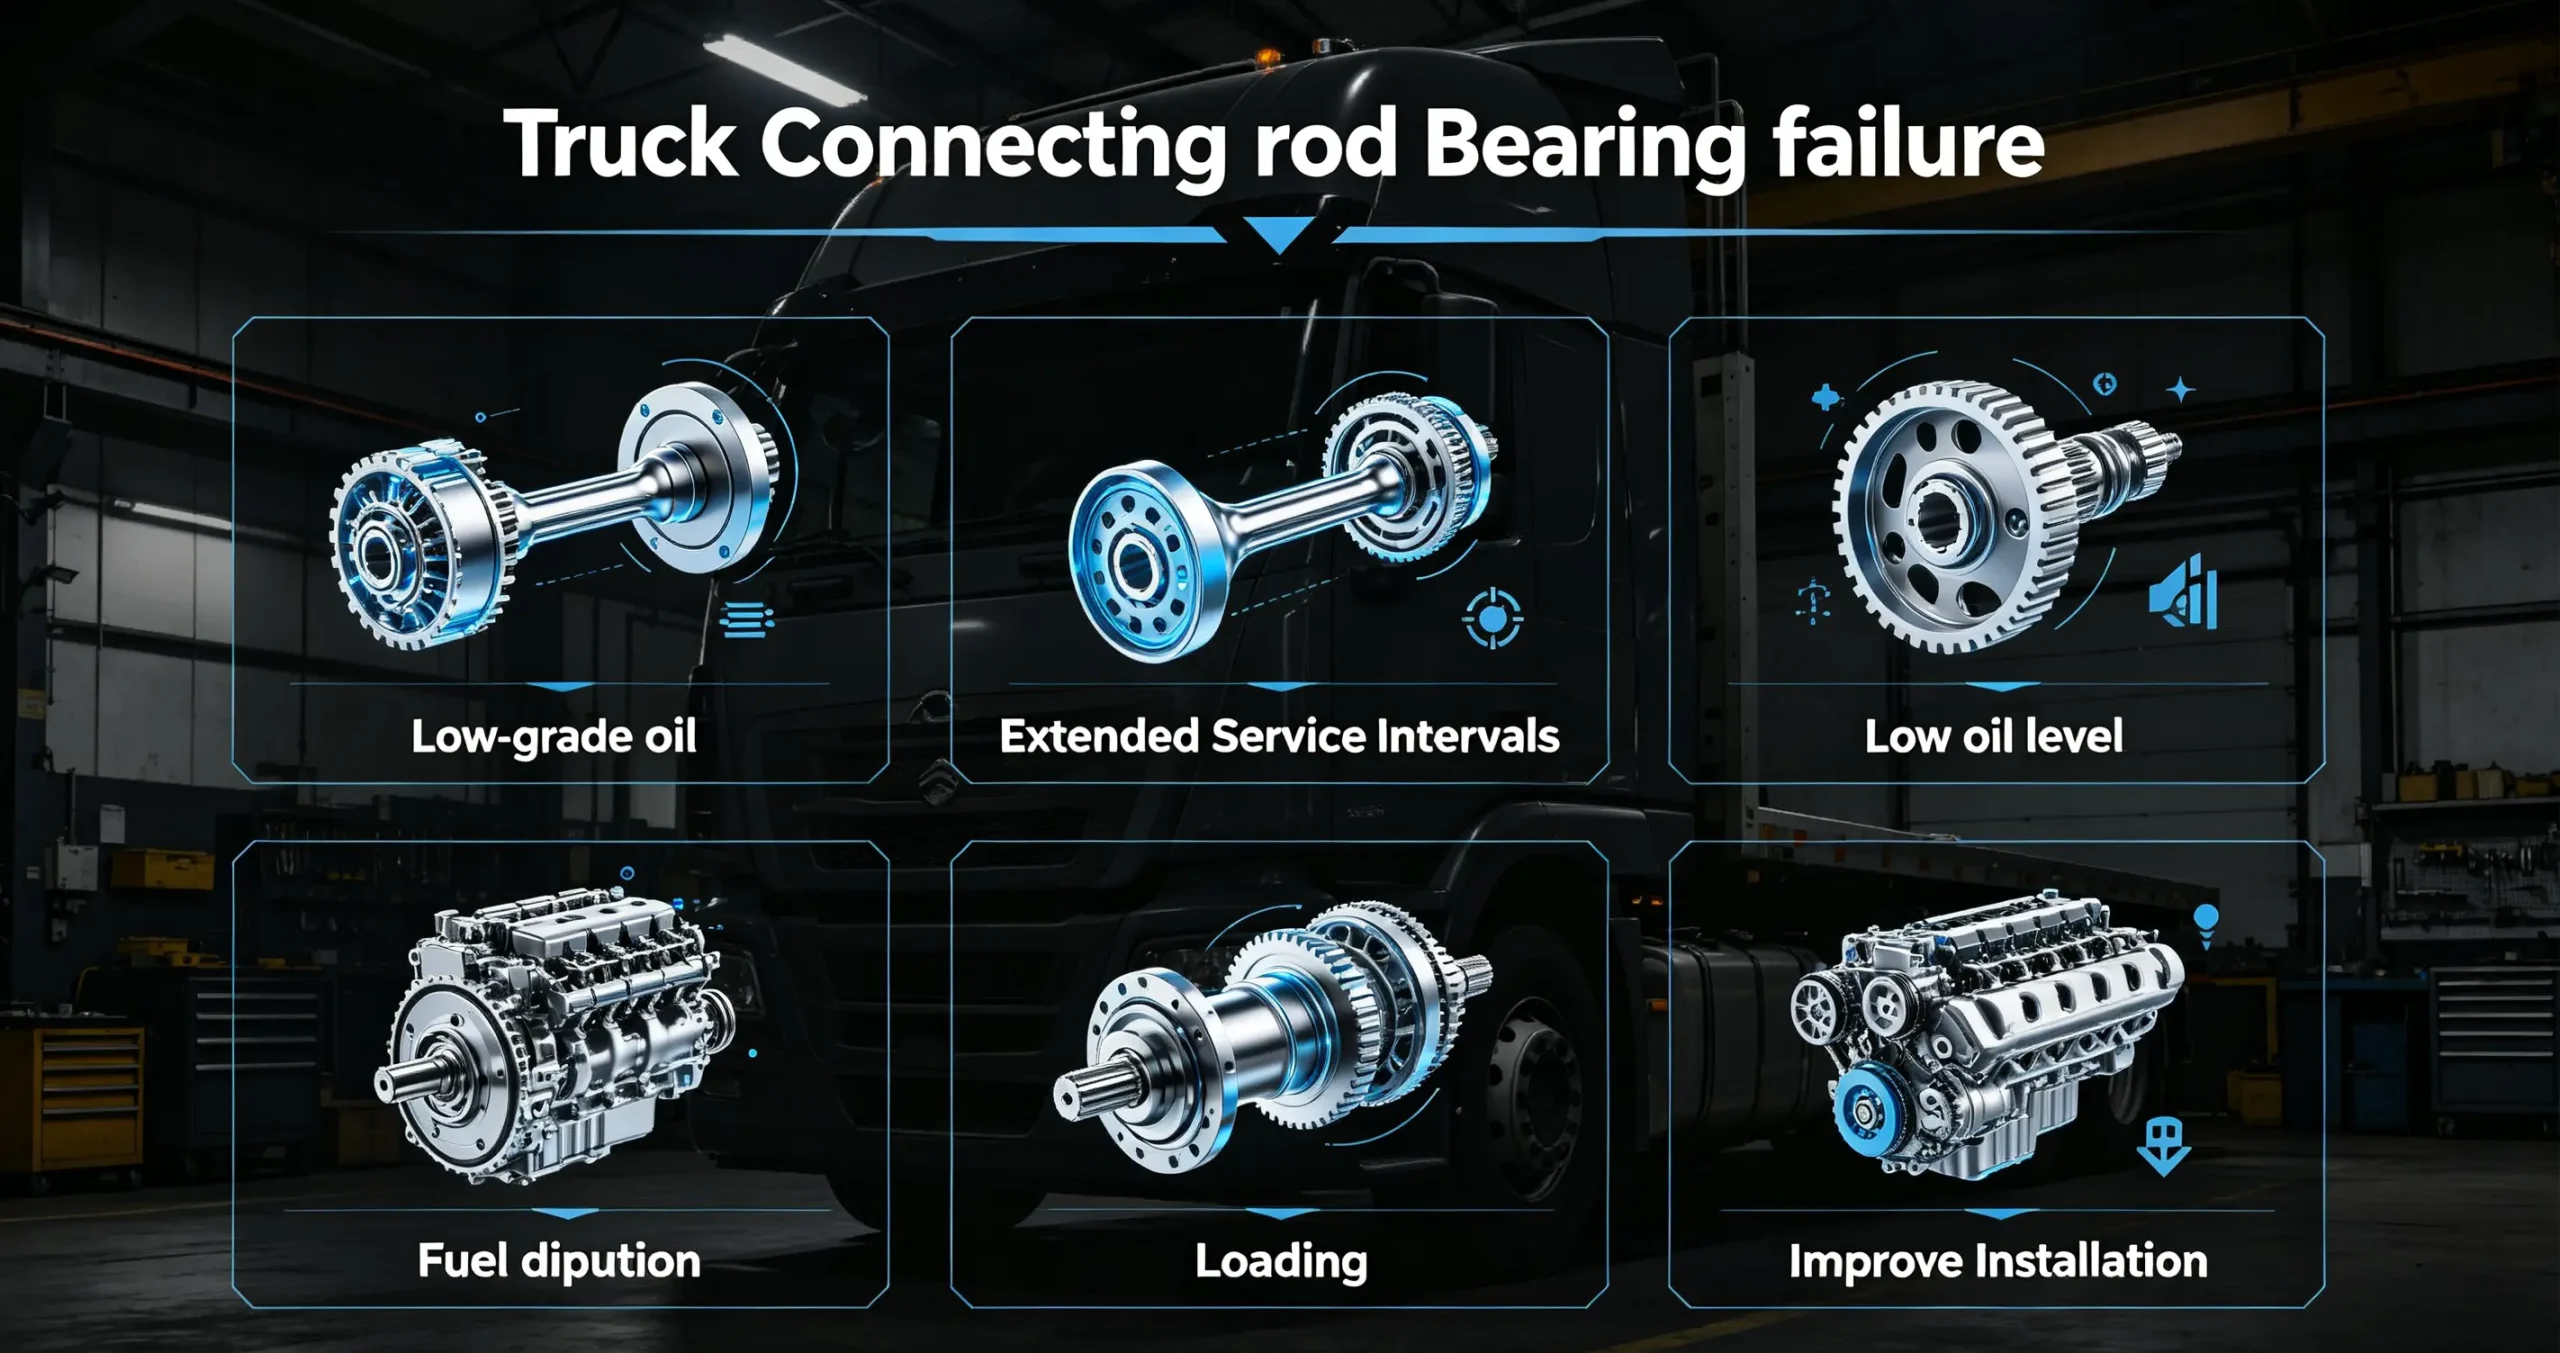
1. Low-Grade Oil & Extended Oil Change Intervals
This is the number one cause of rod bearing wear in commercial trucks. Many fleet operations extend oil drain intervals to save on maintenance costs, and many independent drivers use cheap, non-spec diesel engine oil.
Low-quality oil lacks proper film strength and heat resistance. Under heavy truck load and high engine heat, thin oil cannot maintain a stable protective film over bearing surfaces.
Extended oil service intervals allow soot, carbon deposits, and microscopic metal debris to accumulate in the lubrication system. These abrasive particles circulate continuously across bearing surfaces, slowly grinding away the soft alloy layer.
Over time, this consistent abrasion enlarges bearing clearance, reduces oil pressure, and creates the perfect conditions for rod knock and eventual bearing failure.
2. Low Oil Levels & Intermittent Oil Pressure Starvation
Rod bearings sit at the very end of the engine lubrication hierarchy. When oil volume or pressure drops, rod bearings are the first components to lose lubrication.
Minor oil leaks, neglected oil level checks, and gradual oil burn-off lead to slightly low oil levels. During hard acceleration, hill climbs, or high-RPM highway cruising, the oil pickup tube temporarily starves for oil.
Even split-second oil starvation events create micro-wear scratches on bearing surfaces. These tiny imperfections break the smooth bearing finish and destabilize the oil film during every subsequent engine cycle.
Drivers often overlook low oil levels because the engine does not trigger warning lights until levels are critically low. By that point, bearing damage is already ongoing.
3. Oil Contamination (Fuel Dilution & Coolant Intrusion)
Contaminated engine oil destroys rod bearings faster than any other lubrication issue. Two types of contamination dominate truck engine failures: fuel dilution and coolant mixing with oil.
Fuel dilution occurs when leaking injectors, faulty pressure regulators, or incomplete combustion allow excess diesel fuel to wash down cylinder walls and mix with crankcase oil. Fuel-thinned oil loses all protective film strength.
Coolant contamination happens from blown head gaskets, cracked cylinder heads, or faulty oil coolers. Coolant creates thick sludge, clogs oil galleries, and prevents pressurized oil from reaching rod bearings.
Contaminated oil leads to uneven bearing lubrication, hot spots, localized overheating, and rapid alloy fatigue.
4. Continuous Overloading & Aggressive Operating Habits
Heavy-duty trucks are built to carry extreme weight, but constant maximum-load operation accelerates internal engine wear significantly.
Fleet trucks that run consistently at maximum gross vehicle weight, paired with aggressive acceleration and high-RPM cruising, overload the rod bearing oil film continuously.
Each time you accelerate hard or climb steep grades, the piston and connecting rod exert extreme downward force on the bearing. This squeezes the oil film thinner and thinner until partial metal contact occurs.
Over months and years of repetitive stress, bearing surfaces fatigue and wear unevenly.
5. Improper Shop Installation & Incorrect Bearing Clearance
A shocking number of rod bearing failures happen within just a few thousand miles after a rebuild. Almost all of these failures stem from sloppy installation practices.
Common mistakes include failing to clean crank journals thoroughly, leaving dust or metal particles in rod bores, mismatched bearing sizes, incorrect Plastigauge clearance, and improper torque sequencing.
Many technicians reuse old rod bolts, which stretch over time and lose clamping force. Loose rod caps create excessive bearing clearance, oil pressure bleed-off, and immediate wear.
Even a single microscopic particle left during installation creates a permanent hot spot on the bearing surface that leads to delamination and failure.
6. Worn, Tapered, or Out-of-Round Crankshaft Journals
Many shops make the mistake of simply swapping new bearings over a worn crankshaft. This is a guaranteed failure.
Crankshaft journals wear unevenly over time. They develop taper, out-of-round dimensions, surface scoring, and micro-pitting that cannot be fixed with new bearings alone.
If the crank journal surface is not perfectly smooth and perfectly round, new bearings will only contact high spots. This creates uneven load distribution, localized overheating, and rapid premature wear.
Professional shop protocol always requires full crankshaft inspection, measuring, and machining during every rod bearing replacement job.
Complete Professional Step-by-Step Rod Bearing Replacement Process
This step-by-step workflow is standardized for all major heavy-duty diesel truck engines, including Cummins ISX, Detroit DD15/DD16, Caterpillar C15, and other commercial platforms. Every step follows factory service manual standards to eliminate post-repair failure risk.
Step 1: Full Engine Cool-Down & Workspace Preparation
Never perform bearing work on a warm or hot engine. Heat expands metal components and leads to inaccurate torque values and false clearance readings.
Allow the engine to cool completely overnight for best results. Clean your entire workspace to eliminate dust, debris, and contaminants that could fall into open engine components.
Gather all required tools in advance: torque wrench, Plastigauge set, lint-free shop rags, assembly lube, new gaskets, new bearings, and replacement rod bolts.
Step 2: Drain Oil, Remove Oil Pan & Inspect Debris
Drain all engine oil completely into a clean waste oil container. Inspect the draining oil for metallic glitter, discoloration, or fuel/coolant contamination before disposal.
Remove all oil pan bolts and carefully drop the oil pan. Clean the pan thoroughly and inspect the magnetic drain plug and pan bottom for metal debris.
Document the amount and size of metal particles. Fine powder means mild bearing wear. Large flakes and chunks mean severe delamination and likely crankshaft damage.
Inspect the oil pickup tube and screen for clogging or metal buildup. A blocked pickup screen causes chronic oil starvation and repeated bearing failure.
Step 3: Rotate Crankshaft & Access Connecting Rods
Rotate the crankshaft manually to position each cylinder at bottom dead center. This fully extends the connecting rods and provides unobstructed access to rod caps and bolts.
Always work one cylinder at a time. Never remove multiple rod caps at once to avoid mixing up caps, rods, and bearing halves.
Label each rod cap and rod with cylinder numbers for correct reinstallation position. Factory wear patterns mean rods and caps are not interchangeable.
Step 4: Remove Old Bearings & Inspect All Wear Patterns
Loosen and remove rod bolts, then slide off the rod cap. Carefully pop out upper and lower bearing halves from the rod bore and cap.
Examine old bearings closely for wear patterns. Uniform thin wear indicates normal age wear. Scuffing, black discoloration, peeling, or spotted wear indicates heat damage and lubrication failure.
Inspect crank journals visually for scoring, rust, pitting, and taper. Use a micrometer to measure journal roundness and diameter across multiple points.
If journals fail factory tolerance specs, send the crankshaft for professional grinding, polishing, and straightening before installing new bearings.
Step 5: Measure Bearing Oil Clearance with Plastigauge
Plastigauge clearance testing is non-negotiable for professional repairs. Never install bearings without verifying exact oil clearance.
Place a small strip of Plastigauge along the crank journal, install new dry bearings, torque the rod cap to factory specs, then remove the cap to measure compressed Plastigauge width.
Compare readings to your engine’s factory clearance range. Too-tight clearance causes overheating and seizure. Too-loose clearance causes low oil pressure and rod knock.
Adjust bearing sizes accordingly if your engine requires undersized or oversized bearings after crankshaft machining.
Step 6: Final Cleaning & New Bearing Installation
Clean rod bores, caps, and crank journals repeatedly with lint-free rags until completely spotless. Even tiny dust particles ruin new bearings.
Install new bearing halves carefully, ensuring alignment tabs lock perfectly into their designated slots. Never force bearings or bend alignment tabs.
Coat every bearing surface and crank journal with high-quality engine assembly lube. This provides critical protection during initial startup before full oil pressure builds.
Step 7: Precision Torquing of Rod Bolts
Always install brand-new rod bolts. Stretched used bolts cannot maintain proper clamping force and will fail prematurely.
Torque bolts in slow, even incremental steps following factory torque sequence and specifications. Avoid over-torquing, which distorts rod bores, and under-torquing, which creates loose clearance.
After torquing each rod, rotate the crankshaft manually to confirm smooth, free movement with no binding or tight spots.
Step 8: Reassembly, New Gaskets & Initial Startup Test
Clean the oil pan mounting surface thoroughly and install a brand-new oil pan gasket. Reinstall and torque all pan bolts evenly to avoid leaks.
Refill the engine with manufacturer-spec premium diesel engine oil and install a new oil filter.
Start the engine and monitor oil pressure instantly. Watch for stable cold idle pressure and warm operating pressure within factory range.
Listen closely for any abnormal knocking, ticking, or friction noise during initial break-in. Let the engine idle for 15 minutes to fully circulate oil and seat new bearings.
Pro Shop Tips to Eliminate Repeat Bearing Failure
Most fleet shops struggle with recurring rod bearing issues due to overlooked small details. These professional tips ensure your repair lasts full engine service life.
Always replace bearings as a complete full-set job. Replacing only one or two cylinder bearings creates uneven engine balance and inconsistent oil pressure distribution.
Never skip crankshaft micrometer inspection. Visual checks alone are not enough to detect taper and out-of-round journal wear.
Invest only in OEM-grade or premium aftermarket bearings. Cheap budget bearings use low-quality alloy with inconsistent thickness and poor heat resistance.
Perform a break-in oil change within 50 miles after replacement. This flushes all microscopic installation debris and metal particles from the lubrication system.
Inspect and test oil pressure sensors and gauges to ensure accurate readings after repair. Faulty sensors mask developing pressure issues.
Long-Term Fleet & Owner-Operator Prevention Strategy
Preventing rod bearing failure is far cheaper and more efficient than repairing it. Implement these habits to maximize bearing lifespan and eliminate unexpected downtime.
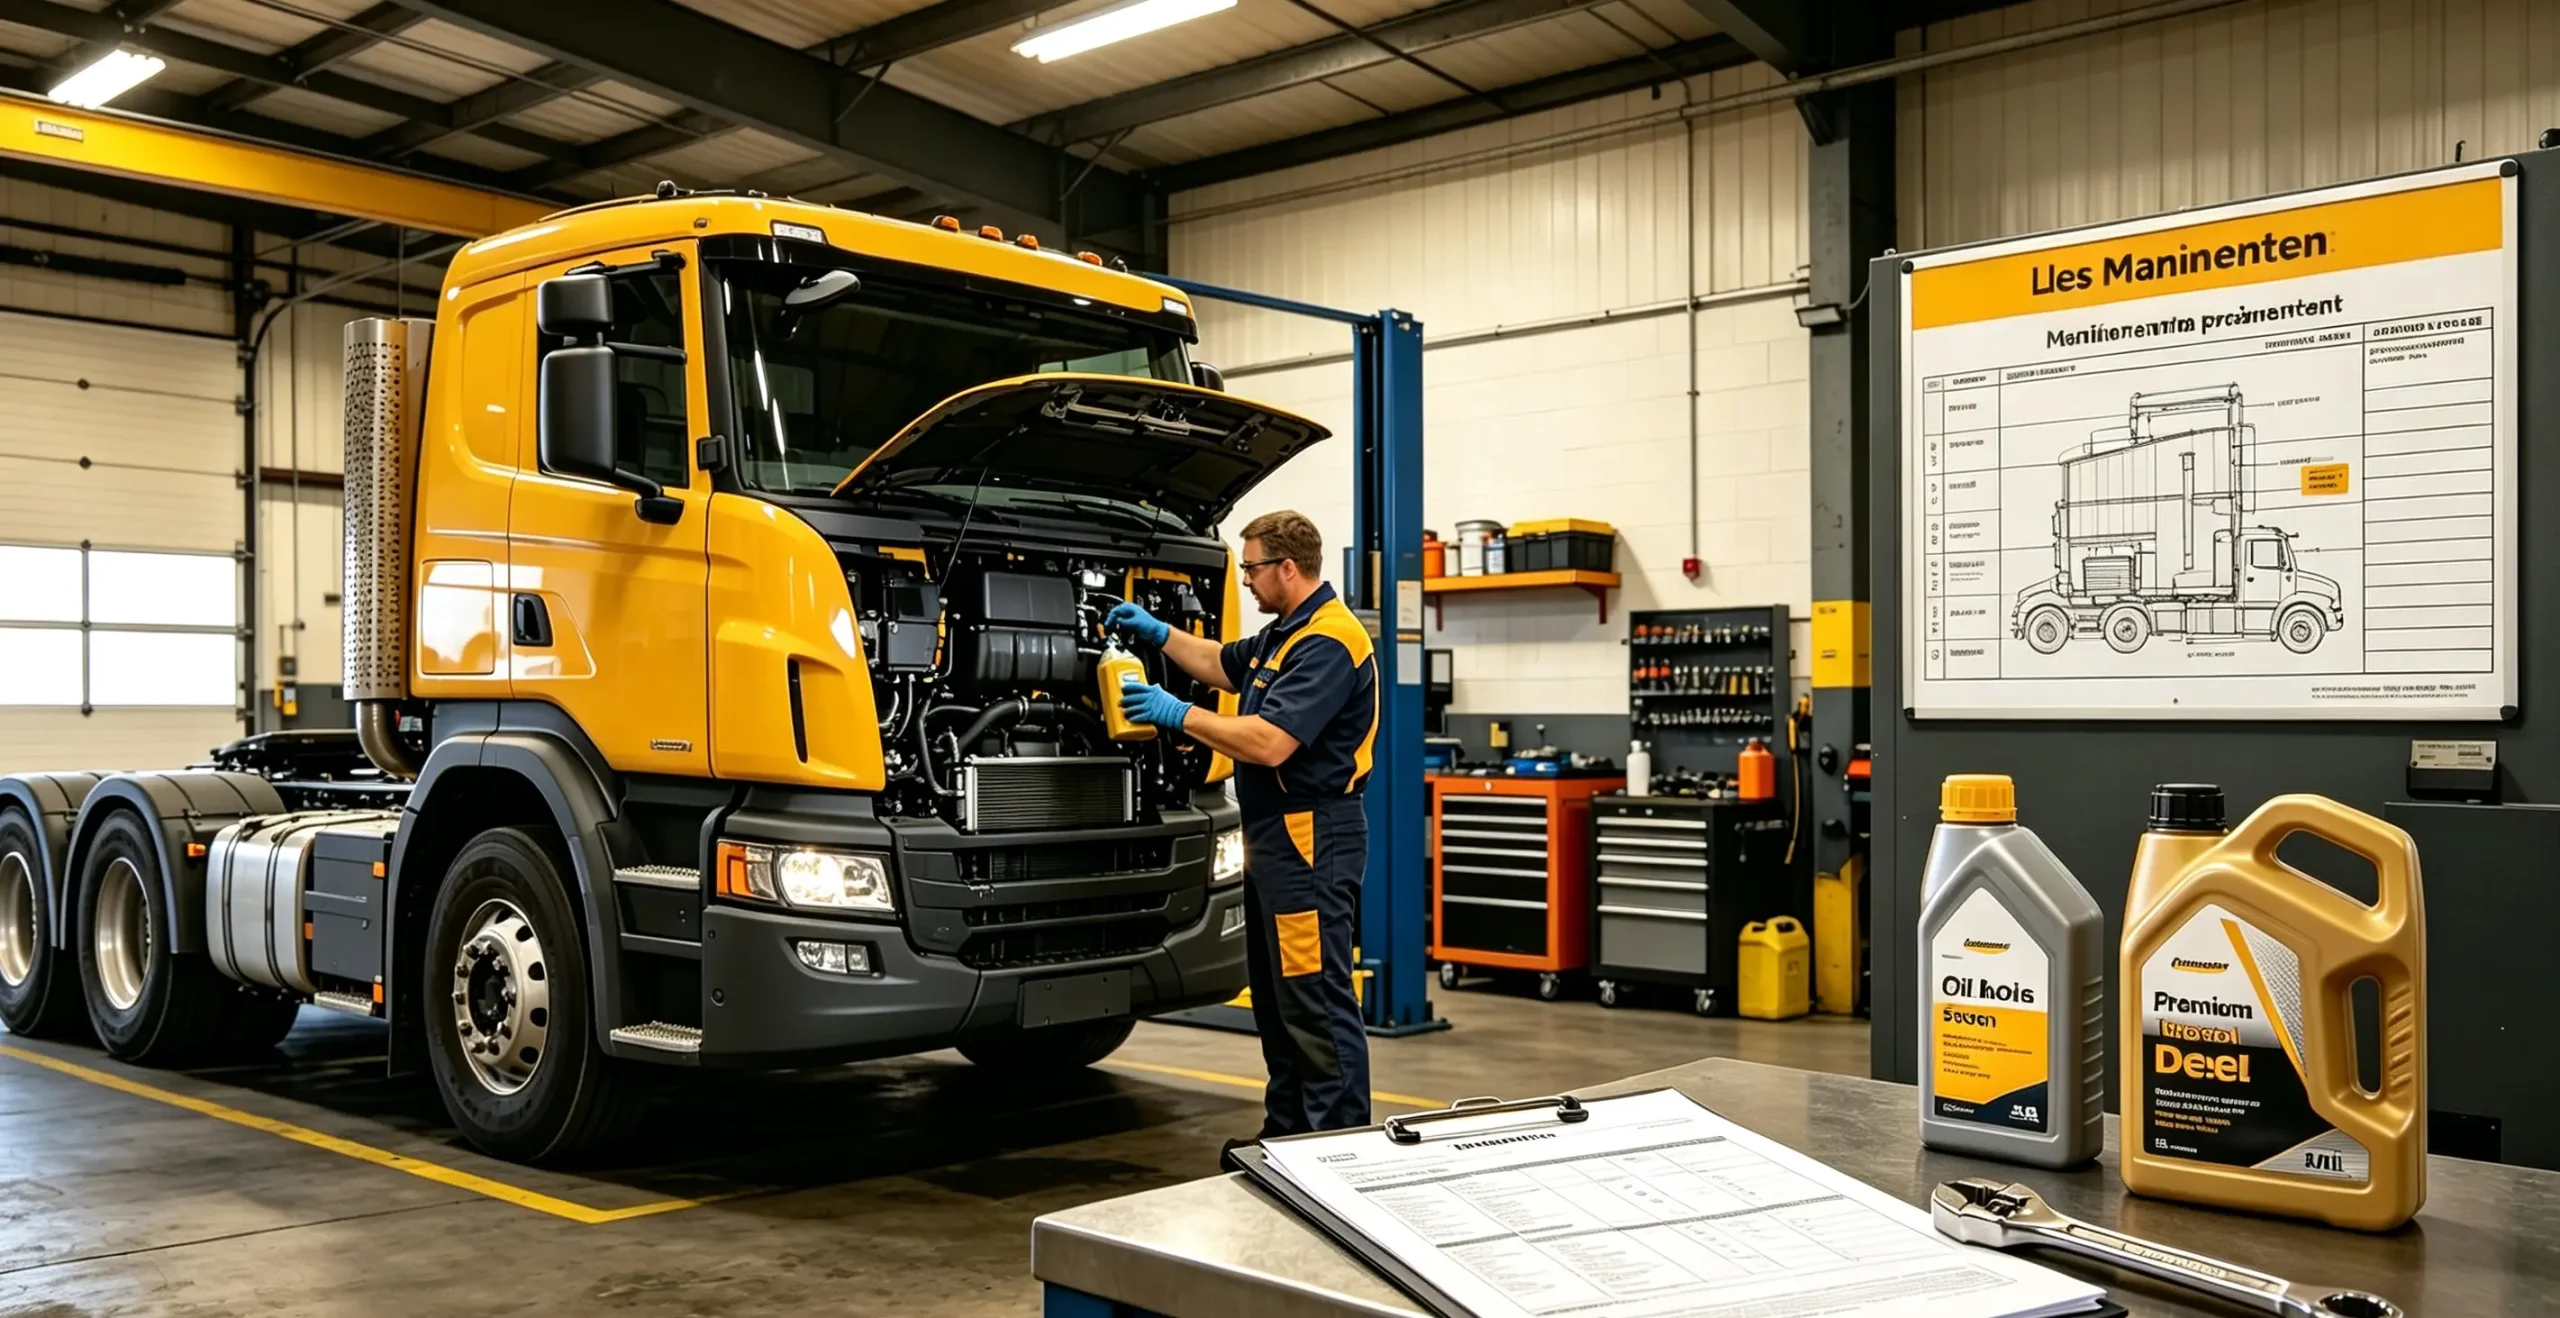
Adjust oil change intervals based on load severity. Heavy-haul, mountain-route, and stop-and-go fleet trucks require shorter service cycles than highway cruise trucks.
Always use manufacturer-recommended oil viscosity and API-rated diesel oil. Never substitute generic off-brand oil for cost savings.
Avoid consistent overloading and aggressive throttle operation. Train fleet drivers to maintain steady RPM and gradual acceleration.
Perform quarterly oil analysis testing to detect fuel dilution, coolant contamination, and metal wear particles before symptoms appear.
Check oil levels during every pre-trip inspection. Small consistent oil loss is an early warning sign of internal engine wear.
Extended FAQ Section for Heavy-Duty Truck Rod Bearing Repair
Can I drive my truck with mild rod bearing noise?
No. Even mild rumble and subtle pressure drop means active wear is occurring. Every mile driven worsens damage and increases repair costs. Stop operation immediately and schedule service.
How much does professional rod bearing replacement cost?
Early-stage bearing replacement is affordable, covering only parts and labor. If crankshaft damage occurs, costs double or triple due to machining, crank replacement, and additional labor.
How many miles do new rod bearings last?
With proper maintenance and clean oil, premium bearings can last 300,000 to 500,000 miles. Poor oil habits can destroy new bearings in under 5,000 miles.
Will a bad rod bearing trigger engine fault codes?
Almost never. Rod bearing wear is purely mechanical failure that does not interact with ECU sensors. Diagnosis relies on sound, pressure readings, and oil analysis.
Can worn rod bearings cause misfires?
Yes. Unstable crank rotation from worn bearings disrupts piston timing and combustion balance, leading to random engine misfires and rough running.
Conclusion
Connecting rod bearings are small, affordable components that protect your entire diesel truck engine from catastrophic failure. Almost all premature wear stems from avoidable maintenance errors, contaminated oil, aggressive operation, and sloppy repair work.
By learning to identify early warning signs, following precise factory repair procedures, and implementing consistent preventive maintenance, you can eliminate rod bearing failures, extend engine lifespan, and minimize costly fleet downtime.


