Introduction
Heavy-duty truck suspension systems depend on dozens of small precision parts. These components work together to deliver stable, safe, and consistent vehicle operation on all road types.
Among these chassis parts, torque rod bushings rank as the most critical yet frequently ignored wearable components for commercial trucks.
Unlike durable forged steel torque rods that last for years, bushings feature flexible rubber or polyurethane builds. These elastic materials absorb road stress, vibration, and daily impact. Even so, they wear down gradually with regular truck operation.
Most fleet managers and drivers prioritize major repairs. These common fixes include shock absorber swaps, spring maintenance, and full axle overhauls. On the other hand, minor bushing wear often goes unnoticed until obvious failures appear.
In fact, subtle torque rod bushing damage causes most recurring chassis issues. Even slight wear disrupts factory-calibrated suspension geometry over time.
As a result, truck owners face a chain of annoying problems. Common issues include unstable steering, fast tire wear, persistent chassis noise, and inconsistent braking response.
Additionally, unaddressed bushing wear speeds up damage to nearby chassis components. Mounting brackets, axle housings, and torque rod arms endure extra fatigue from loose connections.
Ultimately, a low-cost minor bushing fault can turn into a costly full-chassis repair if left unfixed.
Learning how torque rod bushings work in truck suspension systems helps you spot early defects before they escalate into severe mechanical failures.
This practical guide covers real-world heavy truck maintenance scenarios. It details progressive wear symptoms, root causes of premature failure, safe pre-repair preparations, professional replacement steps, and long-term upkeep tips.
After reading this guide, you can inspect, diagnose, replace, and maintain torque rod bushings independently. This skill cuts fleet operating costs, reduces roadside breakdowns, and boosts overall driving safety.
What Happens When Torque Rod Bushings Wear Out?
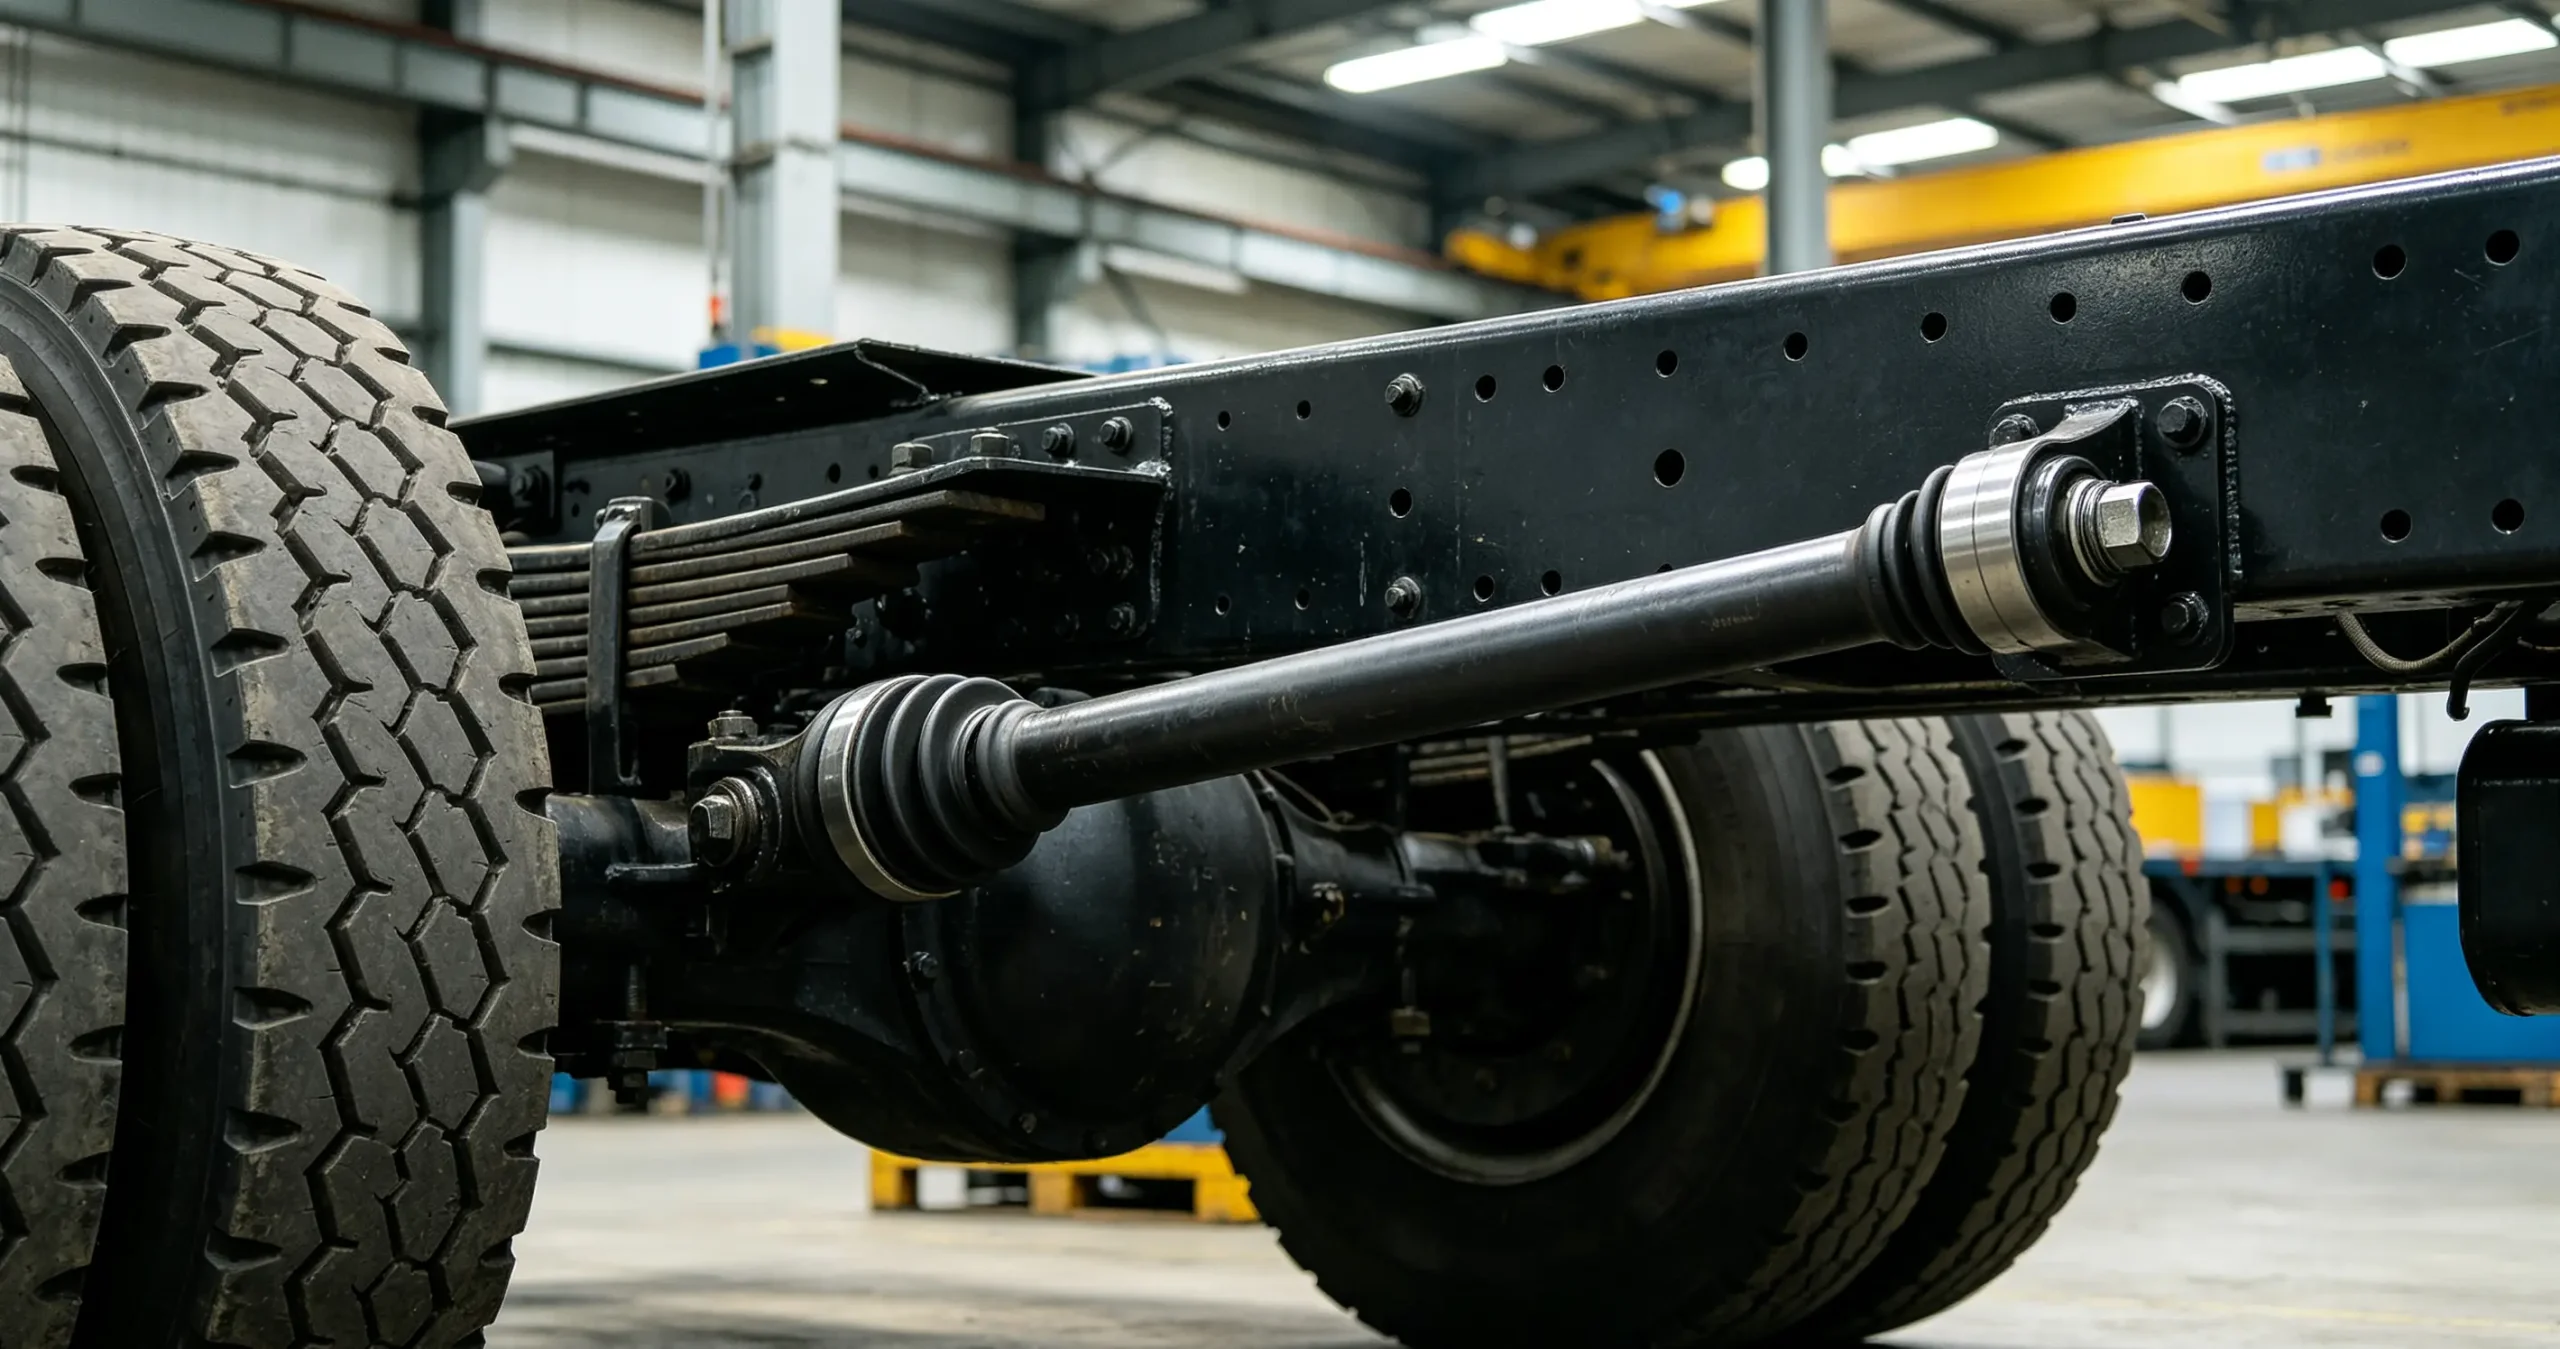
First, it helps to understand the core function of torque rod bushings. These parts act as flexible buffer connectors between a truck’s rigid frame and heavy front or rear axles.
Brand-new, high-quality bushings maintain tight elastic tension with zero internal gaps. They lock the axle in a factory-set position while allowing tiny flexible movements to absorb road shock.
Over time, continuous load, vibration, and outdoor environmental exposure degrade bushing materials. Micro cracks form first. After that, the rubber or polyurethane hardens, deforms, and separates from metal sleeves.
Gradually, small internal gaps develop inside the bushing assembly. Importantly, these gaps stay invisible during static parking on flat ground.
For this reason, basic stationary visual checks often miss early-stage bushing wear.
Once the truck moves, every acceleration, brake application, and road vibration triggers subtle axle shifting. The axle moves slightly forward, backward, and side to side due to lost bushing support.
This hidden floating axle state breaks the entire suspension balance. Unlike sudden part breakages, bushing wear develops slowly across thousands of miles.
Early symptoms remain extremely mild, so trucks still operate normally without obvious breakdowns. As wear progresses, issues grow more noticeable until full bushing failure occurs.
In short, worn bushings eliminate the suspension’s flexible positioning ability. They turn stable rigid-elastic connections into loose floating joints. This issue creates nearly all recurring chassis and tire problems on heavy trucks.
Common Torque Rod Bushing Wear & Failure Symptoms (From Mild to Severe)
Torque rod bushing failure follows a clear progressive pattern. Symptoms shift from subtle driving sensations to loud mechanical noise and visible physical damage.
You can accurately judge wear severity through driving feel, tire condition, chassis sound, and simple manual checks. Below are all typical symptoms sorted by wear stage for fast, accurate on-site diagnosis.
1. Slight Steering Wander (Early Stage Wear)
Steering wander is the very first warning sign of early bushing wear. Many technicians mistakenly blame steering system faults for this issue.
When cruising on flat, straight highways, the truck fails to hold a steady straight path. Drivers must make constant tiny steering corrections to stay centered in the lane.
Without manual adjustment, the vehicle drifts left or right spontaneously. This symptom worsens under specific operating conditions.
For example, full-load hauling, crosswind weather, and high-speed driving all amplify steering instability. Meanwhile, empty-load trips on calm days may hide the problem entirely.
Most misdiagnoses point to loose steering linkages or worn steering gears. In reality, minor axle displacement from reduced bushing elasticity causes this drifting issue.
Suspension geometry stability directly affects truck steering performance, and early bushing wear breaks this balance long before other chassis parts show aging signs.
2. Uneven & Feathered Tire Wear
While steering wander is a subjective feeling, abnormal tire wear serves as an objective proof of bushing failure. This symptom appears shortly after early steering instability starts.
Factory wheel alignment fully relies on stable axle positioning. Intact torque rod bushings keep the axle parallel to the frame and preserve standard camber and toe angles at all times.
As bushings wear down, axle positioning precision drops significantly. The axle shifts slightly under load, which alters wheel road-contact angles in real time.
This unstable contact creates irregular tire abrasion. Common wear patterns include feathered tread edges, unilateral inner-edge wear, overworn shoulders, and patchy central tread damage.
A key sign of bushing-related tire wear is recurring damage after alignment. Even professional four-wheel alignment cannot fix the issue long-term if worn bushings remain unreplace.
Irregular heavy truck tire wear is closely linked to loose suspension components, making bushing inspection a mandatory step during every tire maintenance service.
3. Chassis Clunking Noise on Bumpy Roads
As bushing wear enters the mid stage, abnormal chassis noise becomes the easiest diagnostic indicator. The elastic rubber layer begins to harden and crack, losing its natural shock absorption ability.
Once elasticity fades, the bushing’s internal metal sleeve loses flexible wrapping support. Small gaps form between inner sleeves, outer sleeves, and torque rod mounting structures.
When the truck crosses speed bumps, potholes, gravel roads, or uneven pavement, road impact triggers loose metal collisions. These collisions happen between rod parts and mounting brackets.
The result is a distinct low-frequency clunking or banging sound from the rear chassis. In mid-stage wear, this noise only occurs on rough road surfaces.
As wear continues worsening, internal gaps expand further. Eventually, noise appears even on flat roads during gentle acceleration and deceleration, signaling severe bushing fatigue.
4. Low-Speed & Cruising Chassis Vibration
Healthy torque rod bushings act as built-in vibration dampeners for the rear suspension. They absorb most high-frequency vibration from tire rolling and road friction.
Failed bushings lose this buffer function completely. The axle produces irregular oscillation during travel, and this vibration transfers directly to the frame, floor, and cab.
Drivers feel subtle persistent vibration through the steering wheel and cab floor. This issue peaks between 40 and 65 mph, the common resonance range for heavy-duty truck suspensions.
Notably, standard maintenance fixes cannot resolve this vibration. Tire balancing, shock replacement, and wheel alignment all fail here because the root cause is suspension positioning clearance, not tire or damper damage.
5. Delayed Braking Feedback & Axle Offset
During emergency braking or downhill deceleration, massive inertial force acts instantly on the truck’s rear axle. Healthy bushings lock the axle firmly to resist forward shifting.
Worn bushings cannot deliver stable support. The axle shifts forward under braking force and rebounds backward once braking stops.
This floating movement creates delayed braking feedback and a spongy brake pedal feel. Drivers must press the pedal deeper to achieve expected stopping power.
In severe cases, uneven left and right bushing wear causes unilateral axle offset. The truck pulls left or right during braking, which creates major safety risks during downhill and high-speed travel.
Stable axle positioning is critical for reliable truck braking performance, and worn torque rod bushings directly compromise this core safety feature.
6. Visible Bushing Cracks, Deformation & Rubber Peeling (Late Failure)
Late-stage bushing failure comes with obvious visual damage that requires no professional testing. Simple on-site observation and manual touching can confirm complete failure.
Aged worn bushings feature dry, cracked rubber surfaces covered in dense radial fissures. The rubber hardens significantly and loses all flexible properties, similar to brittle aged plastic.
Long-term compression creates irreversible flat deformation and edge bulging. In extreme cases, the entire rubber layer peels away from internal and external metal sleeves.
Manual testing verifies the fault clearly. Pushing or pulling the torque rod by hand produces obvious shaking and floating play, confirming total loss of positioning and buffer function.
Main Causes of Premature Torque Rod Bushing Wear
Many truck owners struggle with fast new bushing failure right after replacement. In most cases, poor product quality is not the main cause.
Premature wear usually stems from combined operating conditions, daily driving habits, and neglected maintenance routines.
In fact, natural material aging accounts for less than 20% of bushing failures. Over 80% of early damage is fully preventable with standardized operation and regular upkeep.
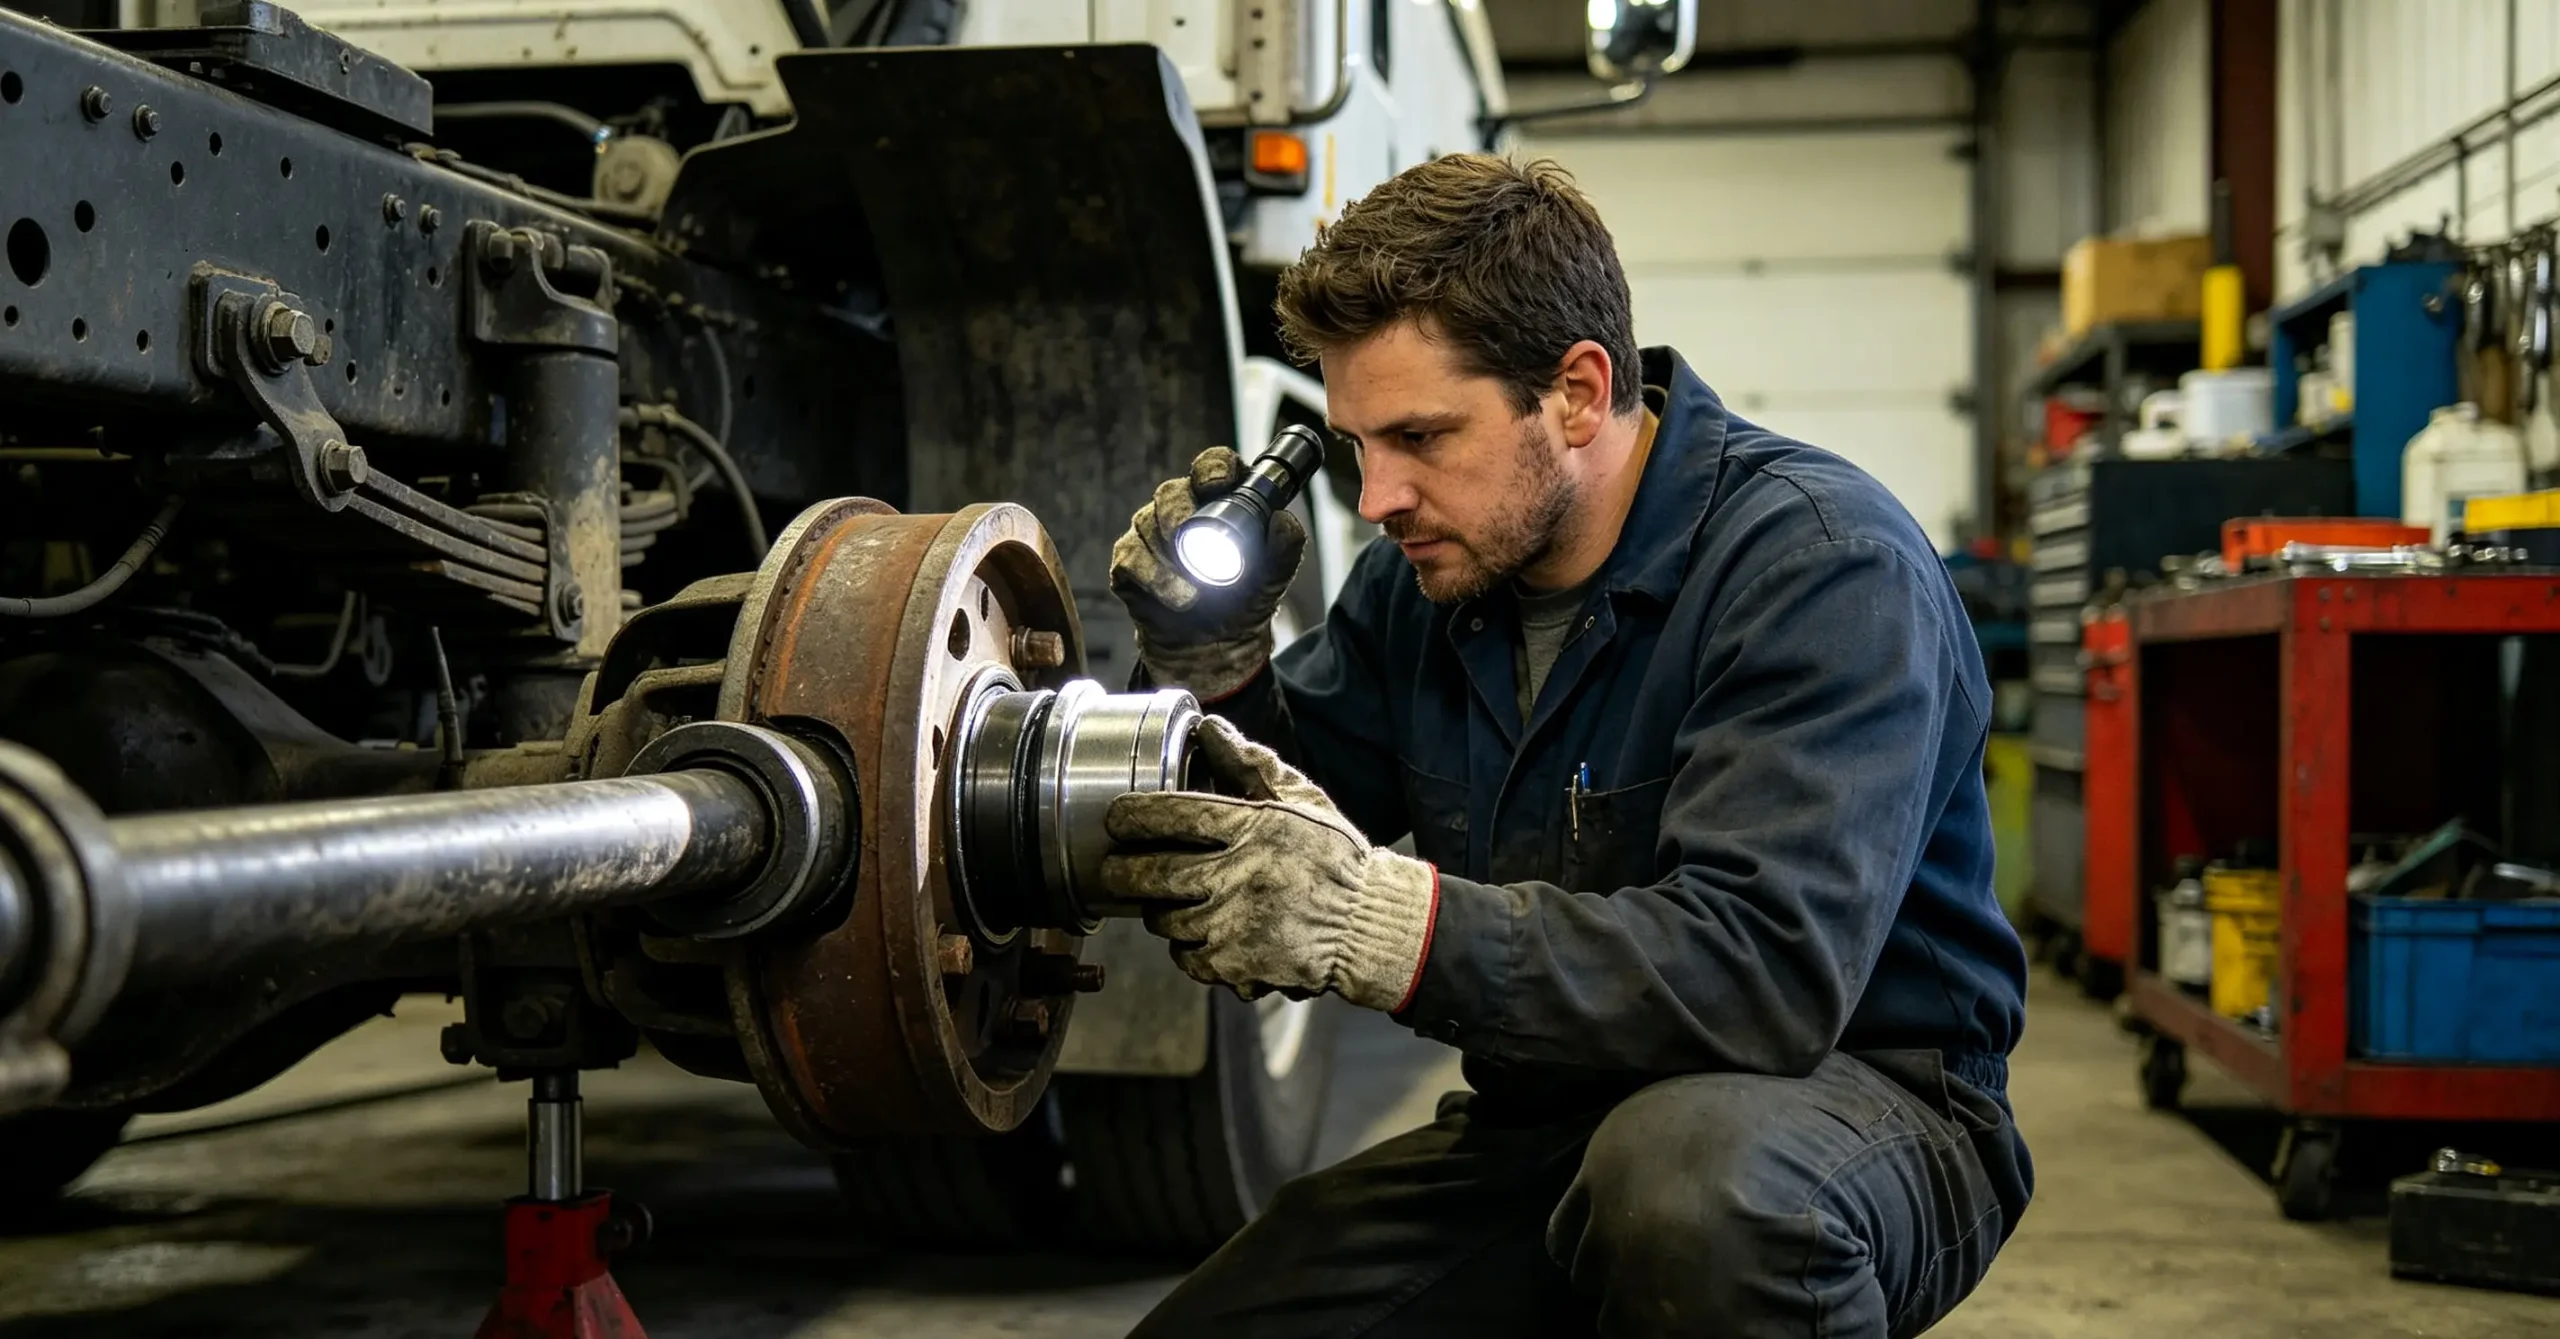
The following factors are the most common triggers of premature torque rod bushing wear in heavy-duty trucks.
Continuous Overload Operation: Many commercial trucks carry excess cargo to maximize transport profits. Overloading exponentially increases overall suspension bearing pressure.
Torque rod bushings bear primary axial and lateral axle loads. Long-term over-compression creates irreversible fatigue deformation in rubber molecules. This permanent elasticity loss leads to rapid bushing failure within short mileage.
Frequent Rough Road Driving: Most freight routes include mountain roads, gravel surfaces, construction zones, and uneven rural pavement. These harsh roads generate constant strong chassis impact.
High-frequency impact repeatedly squeezes and stretches bushing rubber layers. Tiny internal cracks expand and connect over time, eventually causing full structural cracking and failure.
Insufficient Regular Lubrication: Most heavy-duty torque rod bushings come with factory-installed grease nipples for routine maintenance. Even so, most fleets skip regular grease injection.
Without proper lubrication, dry friction occurs between the bushing core and contact surfaces. Dry abrasion accelerates internal material loss, widens internal gaps, and drastically shortens service life.
Regular chassis lubrication maintenance effectively extends suspension component service life, especially for movable bushings and joint parts.
Low-Quality Aftermarket Parts: To cut short-term costs, many repair shops and fleet owners choose cheap inferior bushings made from recycled rubber.
These low-cost alternatives feature unstable rubber formulas, weak compression resistance, and poor vibration tolerance. They cannot withstand heavy-duty truck working conditions and often crack or deform within 10,000 to 30,000 miles.
Non-Standard Installation: Improper installation is a major hidden cause of premature new bushing failure. Over-tightened mounting bolts crush new elastic bushings and destroy internal structure.
Additionally, skewed or twisted bushing installation creates unbalanced stress. Partial over-compression and friction trigger localized wear that quickly spreads to full failure.
Long-Term High-Speed Cruising: Sustained high-speed driving generates continuous high-frequency chassis vibration. Long-term vibration fatigue accelerates rubber aging and reduces bushing elasticity gradually.
Pre-Replacement Preparation (Tools, Parts & Strict Safety Rules)
Complete pre-replacement preparation guarantees high-quality bushing installation. Adequate prep work avoids sudden construction failures, broken bolts, and component deformation.
Many novice technicians skip preparation steps for convenience. This careless practice leads to incomplete repairs, hidden residual faults, and repeated disassembly work.
For professional, long-lasting bushing replacement, the following preparation steps are mandatory for every repair project.
Complete Required Tools List
Gather all tools beforehand to avoid intermittent work delays. Essential tools include a hydraulic floor jack, fixed safety jack stands, impact wrench, precision torque wrench, and full socket set.
Auxiliary tools include penetrating rust remover, steel wire brush, chassis cleaning solvent, high-temperature chassis grease, and a dedicated bushing press tool set.
Crucially, always use professional bushing press tools instead of manual hammering. Press tools deliver uniform stress and prevent permanent rod hole deformation.
Strict On-Site Safety Operating Rules
Chassis disassembly involves heavy vehicle lifting, so safety protection takes top priority at all times.
First, park the truck on flat, solid concrete ground. Avoid soft soil, sloped surfaces, or uneven pavement to prevent vehicle shifting.
Firmly chock front and rear tires to block sliding. Fully engage the parking brake and lock the gear position to keep the vehicle completely stationary.
Use the floor jack to lift the rear axle slightly. The goal is to release suspension spring tension and remove load pressure from torque rod bolts.
Place fixed jack stands under the chassis for secondary support. Never work under a truck supported only by a hydraulic jack, as jack failure can cause severe accidents.
Comprehensive Pre-Repair Inspection
Before disassembly, perform a full peripheral chassis inspection. Check torque rod bodies for bending, distortion, or surface cracking.
Inspect mounting brackets for deformation and weld cracks. Verify rear axle U-bolt tightness to prevent axle displacement after bushing replacement.
Check shock absorbers for oil leakage and functional failure. Replace faulty shocks synchronously if needed to avoid secondary disassembly later.
Full chassis pre-inspection avoids secondary disassembly after partial component replacement and greatly improves overall maintenance efficiency.
Step-by-Step Torque Rod Bushing Replacement Guide (Professional Standard Process)
Torque rod bushing replacement follows strict OEM process standards. Every step directly impacts installation quality and new bushing service life.
Non-standard operations cause premature failure even with premium-quality bushings. Below is the full professional workflow summarized from certified heavy-truck repair workshops.
Step 1: Release Suspension System Pressure
Start by adjusting the hydraulic floor jack to lift the rear axle slightly. This action releases tension from leaf springs and the entire suspension system.
After pressure release, torque rods and fixing bolts no longer bear vehicle weight. This effectively prevents bolt jamming, thread stripping, and bolt breakage during disassembly.
Keep the jack stable after lifting. Confirm the axle stays in a fully relaxed state before moving to the next step.
Step 2: Loosen Rusty Bolts and Remove Fixing Hardware
Chassis bolts endure long-term outdoor exposure, leading to surface rust and dust buildup. Direct forced disassembly easily damages bolt threads.
Spray penetrating rust remover evenly on all torque rod fixing bolts. Allow 3 to 5 minutes for full penetration to soften rust and lubricate threads.
Loosen upper and lower fixing bolts in sequence. Use an impact wrench for preliminary loosening, then finish manually to control force and protect thread integrity.
Step 3: Dismount Torque Rod Assembly and Clean Surface
After removing all fixing bolts, smoothly detach the complete torque rod assembly. Place it on a clean workbench to avoid secondary dirt contamination.
Use a steel wire brush to clear surface mud, rust, and oil stains. After thorough cleaning, inspect the rod body carefully for bending, cracking, or fatigue deformation.
Reuse intact torque rod bodies with new bushings. Replace the entire rod assembly immediately if bending or structural cracks appear.
Step 4: Professional Pressing Out of Old Worn Bushings
Secure the torque rod firmly on the press tool workbench. Align the professional press mold perfectly with the old bushing center for vertical and horizontal accuracy.
Apply slow, uniform pressure to press out the old bushing in one piece. Maintain stable pressure throughout the process to avoid skewed extrusion.
Strictly avoid violent hammering or impact disassembly. Rough force deforms rod-end mounting holes, causing poor new bushing fitting and early wear.
Step 5: Thoroughly Clean Mounting Hole Inner Wall
After old bushing removal, residual rust, rubber debris, and dirt remain inside the mounting hole. These impurities ruin new bushing fitting tightness.
Use chassis cleaning solvent and a specialized hole brush to clean the inner wall completely. Wipe the wall dry to ensure a smooth, flat, impurity-free surface.
This step guarantees zero-gap fitting between the new bushing and mounting hole, eliminating hidden gaps that cause early-stage wear.
Step 6: Uniform Stress Press-In of New Bushing
Unpack the new bushing and inspect its specifications and surface quality. Confirm no cracks, deformation, or size errors before installation.
Align the new bushing horizontally with the mounting hole. Use the press tool to apply slow, even pressure for precise press-in installation.
Stop pressing once the bushing sits flush with the rod-end surface. Avoid torsion, skewing, or partial extrusion deformation during installation.
Precision bushing installation ensures uniform stress distribution and lays a solid foundation for long-term suspension stability.
Step 7: Reinstall Torque Rod and Standard Torque Bolt Fastening
Mount the refurbished torque rod back onto frame and axle brackets. Align bolt holes accurately to avoid forced fitting and unnatural component stress.
Thread all fixing bolts manually first to ensure smooth thread engagement. Then use a precision torque wrench to tighten bolts per OEM standard torque values.
Uneven torque and over-tightening are the top two causes of premature new bushing failure. Always follow factory torque specifications strictly.
Step 8: High-Temperature Grease Refill for Greasable Bushings
For torque rod bushings equipped with grease nipples, complete full grease injection right after installation.
Use a professional grease gun to inject high-temperature resistant chassis grease. Stop filling once fresh grease overflows evenly from bushing gaps.
This process discharges internal air and eliminates dry friction points. Regular grease maintenance can extend bushing service life by over 30%.
Post-Replacement Inspection & Professional Calibration
Bushing replacement is not complete once parts are installed. Post-repair inspection, road testing, and professional calibration are essential for guaranteed repair quality.
Many recurring chassis faults after replacement happen because technicians skip these final critical steps. Below are mandatory post-repair procedures for every bushing replacement project.
Static On-Site Inspection
After installation and tool cleanup, conduct a full static chassis inspection. Check that the new bushing sits flat with no skew or extrusion deformation.
Verify all bolts meet standard torque values with no loose hardware remaining. Manually shake the torque rod to confirm zero floating clearance or abnormal movement.
Check grease overflow status to ensure full internal lubrication and eliminate hidden dry friction areas.
Actual Road Test Verification
After passing static inspection, perform a low-speed road test first. Drive on flat pavement to evaluate straight-line stability and steering sensitivity.
Complete gentle acceleration and deceleration cycles to check for chassis noise and vibration. Then cross minor road undulations to test suspension buffer performance.
A qualified repair result features zero abnormal noise, no vibration, stable straight cruising, and consistent responsive braking feedback.
Mandatory Professional Wheel Alignment
Torque rod bushing replacement fully resets suspension geometry. Original wheel alignment parameters no longer match the updated suspension state.
Without professional recalibration, the truck will still suffer from tire wear and slight steering drift. This explains why faults often recur after uncalibrated bushing replacement.
Take the vehicle to a professional alignment shop to recalibrate axle parallelism, wheel camber, and toe angles. Restore full factory suspension geometry standards.
Professional wheel alignment is essential after any suspension component replacement to eliminate hidden driving defects and ensure long-term repair effectiveness.
Long-Term Bushing Maintenance Tips to Extend Service Life
High-quality replacement and precise installation alone cannot guarantee maximum bushing lifespan. Scientific daily maintenance is key to delaying aging and reducing replacement frequency.
Summarized from years of fleet maintenance experience, the following practical rules effectively extend torque rod bushing service life and cut overall fleet maintenance costs.
First, stick to regular grease injection. For greasable bushings, complete full grease filling every 10,000 to 15,000 miles. Timely lubrication prevents dry friction and slows rubber aging.
Second, add bushing checks to routine chassis maintenance. Inspect for surface cracks, rubber hardening, and loose bolts during every chassis overhaul to catch issues early.
Third, standardize daily driving habits. Avoid long-term overloading, sharp braking, and sharp turning. These actions create instant impact loads that accelerate bushing fatigue damage.
Fourth, replace bushings in pairs. Always swap left and right torque rod bushings synchronously. Single-side replacement causes asymmetric chassis stress and unbalanced suspension force distribution.
Fifth, choose premium OEM or high-quality aftermarket parts. Genuine rubber or polyurethane bushings cost more upfront but deliver far longer service life and more stable performance than cheap alternatives.
Sixth, avoid prolonged stationary parking. Long-term static load creates permanent bushing compression deformation. Regular vehicle movement preserves bushing elasticity and activity.
Frequently Asked Questions (Detailed Practical Answers)
1. Can I continue driving with worn torque rod bushings?
Short-distance, low-speed temporary driving is possible but not recommended. Long-term operation with worn bushings severely reduces chassis stability and endangers driving safety.
Additionally, floating axle positioning accelerates tire wear and causes secondary damage to mounting brackets and torque rod bodies. Minor low-cost faults quickly escalate into expensive chassis repairs.
2. Is replacing only bushings better than replacing the whole torque rod?
Replacing just bushings is more cost-effective if the torque rod body remains intact. Undamaged, undeformed rod bodies regain full suspension performance with new bushings.
However, replace the entire torque rod assembly directly if the body features bending, fatigue deformation, or surface cracks. Deformed rods cannot maintain stable axle positioning even with brand-new bushings.
3. How long do new torque rod bushings last in actual use?
Bushing service life depends on part quality, road conditions, load weight, and maintenance frequency. Premium genuine bushings last 80,000 to 150,000 miles under standard load and flat road conditions.
Harsh operating conditions shorten lifespan drastically. Long-term overloading, mountain road travel, and missing lubrication reduce service life to 30,000 miles or less.
4. Why does tire wear continue immediately after bushing replacement?
The core reason is missing post-repair wheel alignment. Bushing replacement resets suspension geometry, making original wheel angle data invalid.
Only professional four-wheel alignment recalibrates wheel stress angles completely and eliminates recurring abnormal tire wear issues.
5. What is the difference between rubber and polyurethane torque rod bushings?
Traditional rubber bushings offer excellent shock absorption and smooth driving comfort. They work best for standard freight trucks operating on regular roads.
Polyurethane bushings feature stronger compression resistance and wear tolerance. They suit heavy-load fleets and harsh road conditions with longer service life and minimal deformation.
The only downside of polyurethane bushings is slightly stiffer shock absorption compared to soft rubber alternatives.
Conclusion
Torque rod bushing wear ranks as the most overlooked hidden fault in heavy-duty truck chassis maintenance. Despite their small size, these tiny components control core axle positioning and suspension balance.
Nearly all common chassis problems link back to unaddressed bushing wear. These issues include steering wander, abnormal tire wear, chassis noise, persistent vibration, and unstable braking.
By learning the progressive wear symptoms in this guide, fleet managers and technicians can achieve early fault diagnosis and avoid delayed, costly repairs.
Following standardized replacement workflows and post-repair calibration ensures new bushings deliver optimal long-term performance. Consistent daily maintenance further maximizes component lifespan.
For long-term fleet operation, proactive bushing inspection and scheduled replacement cut tire consumption, lower repair costs, and reduce roadside failure rates significantly.
Overall, standardized torque rod bushing maintenance is a low-cost, high-return maintenance project for every heavy-duty truck fleet.


